> ## Documentation Index
> Fetch the complete documentation index at: https://docs.contexaai.com/llms.txt
> Use this file to discover all available pages before exploring further.
# Directory
> Deploy MCP servers from our curated list of 3000+ tools!
ContexaAI’s **MCP Server Directory** is your launchpad to production-ready integrations: a searchable catalog of verified servers—from GitHub and Slack to Supabase and hundreds of other APIs—that you can deploy with a single click. Instead of reading specs, cloning repos, and wiring up credentials by hand, you pick a server, review its manifest, and Contexa handles the rest: hosting, scaling, auth, and versioning. This section explains what the directory is, why we curate it, and what happens under the hood when you press **Deploy**.
 Because every server implements the open **Model Context Protocol**, anything you deploy here is immediately callable from AI clients that speak MCP—such as **Cursor**, **Windsurf, VS Code,** **Microsoft Copilot Studio**, **Claude Desktop**, and **Gemini CLI**—with no code changes.
## How deployment works
Let us walk you through an example to deploy your first MCP server
1. **Navigate:** After logging in, click the **Home** icon to open the Directory. Use search or filters (category, language, publisher) to find a server.
2. **Inspect:** Select a card to see the manifest, sample calls, and required environment variables.
Because every server implements the open **Model Context Protocol**, anything you deploy here is immediately callable from AI clients that speak MCP—such as **Cursor**, **Windsurf, VS Code,** **Microsoft Copilot Studio**, **Claude Desktop**, and **Gemini CLI**—with no code changes.
## How deployment works
Let us walk you through an example to deploy your first MCP server
1. **Navigate:** After logging in, click the **Home** icon to open the Directory. Use search or filters (category, language, publisher) to find a server.
2. **Inspect:** Select a card to see the manifest, sample calls, and required environment variables.
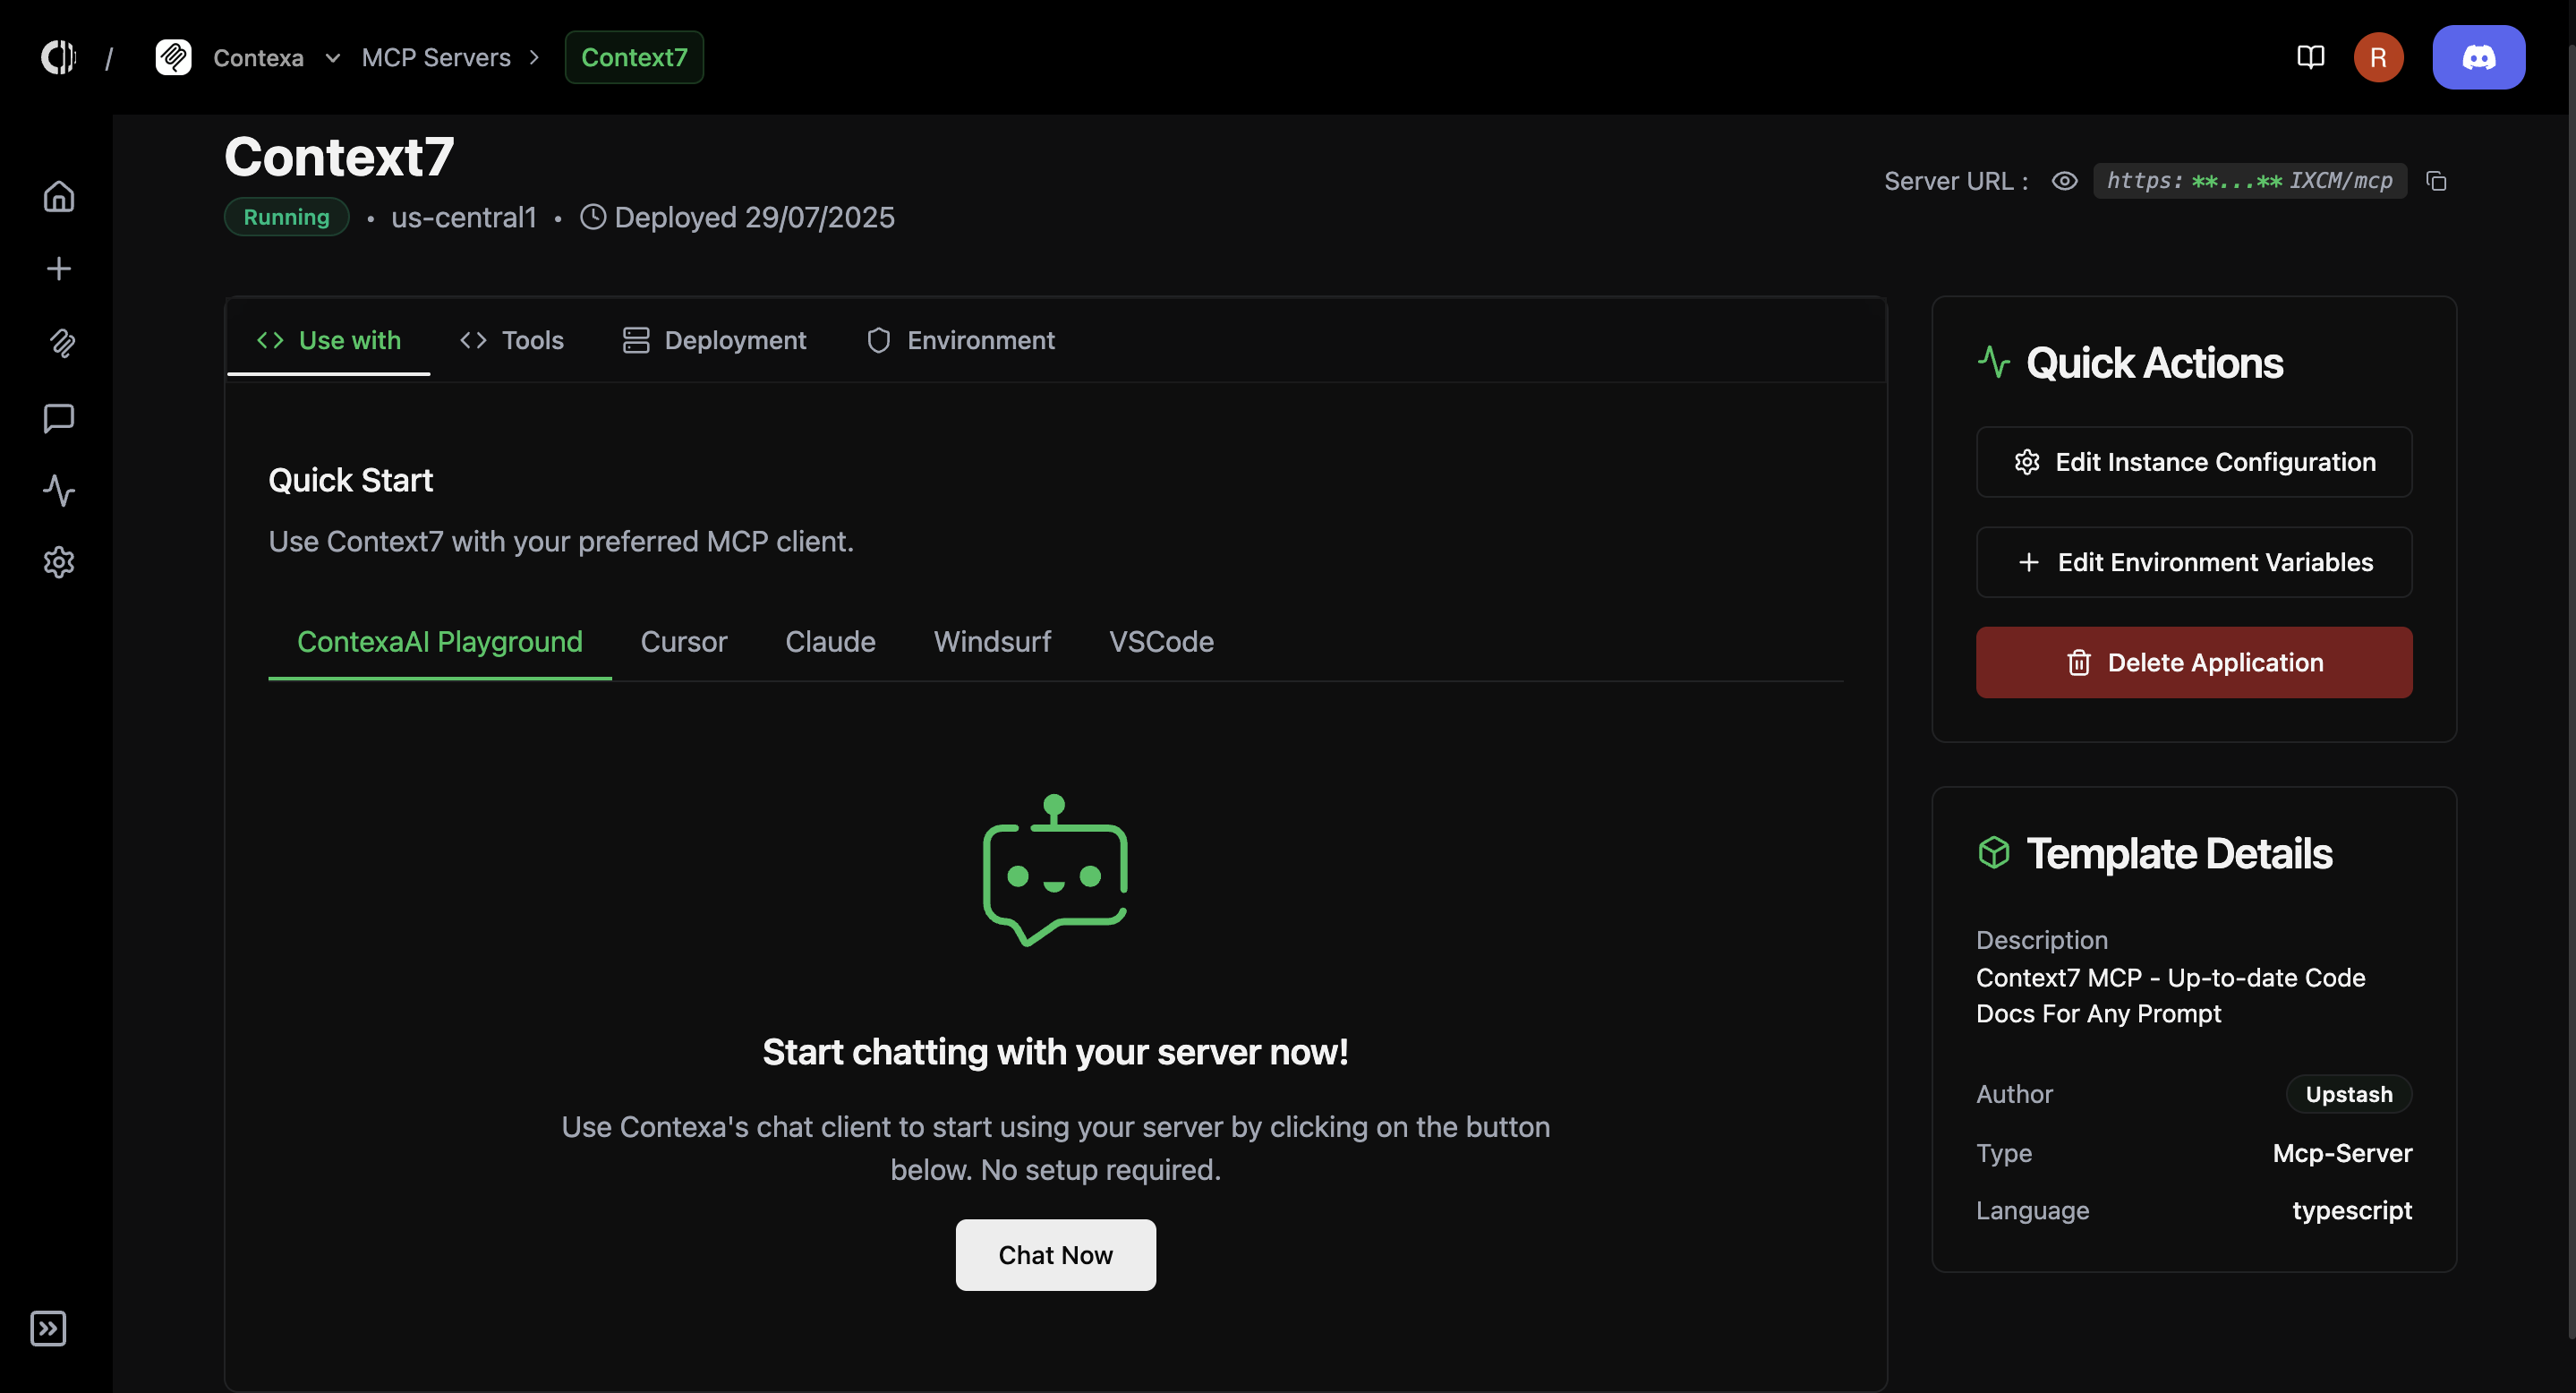
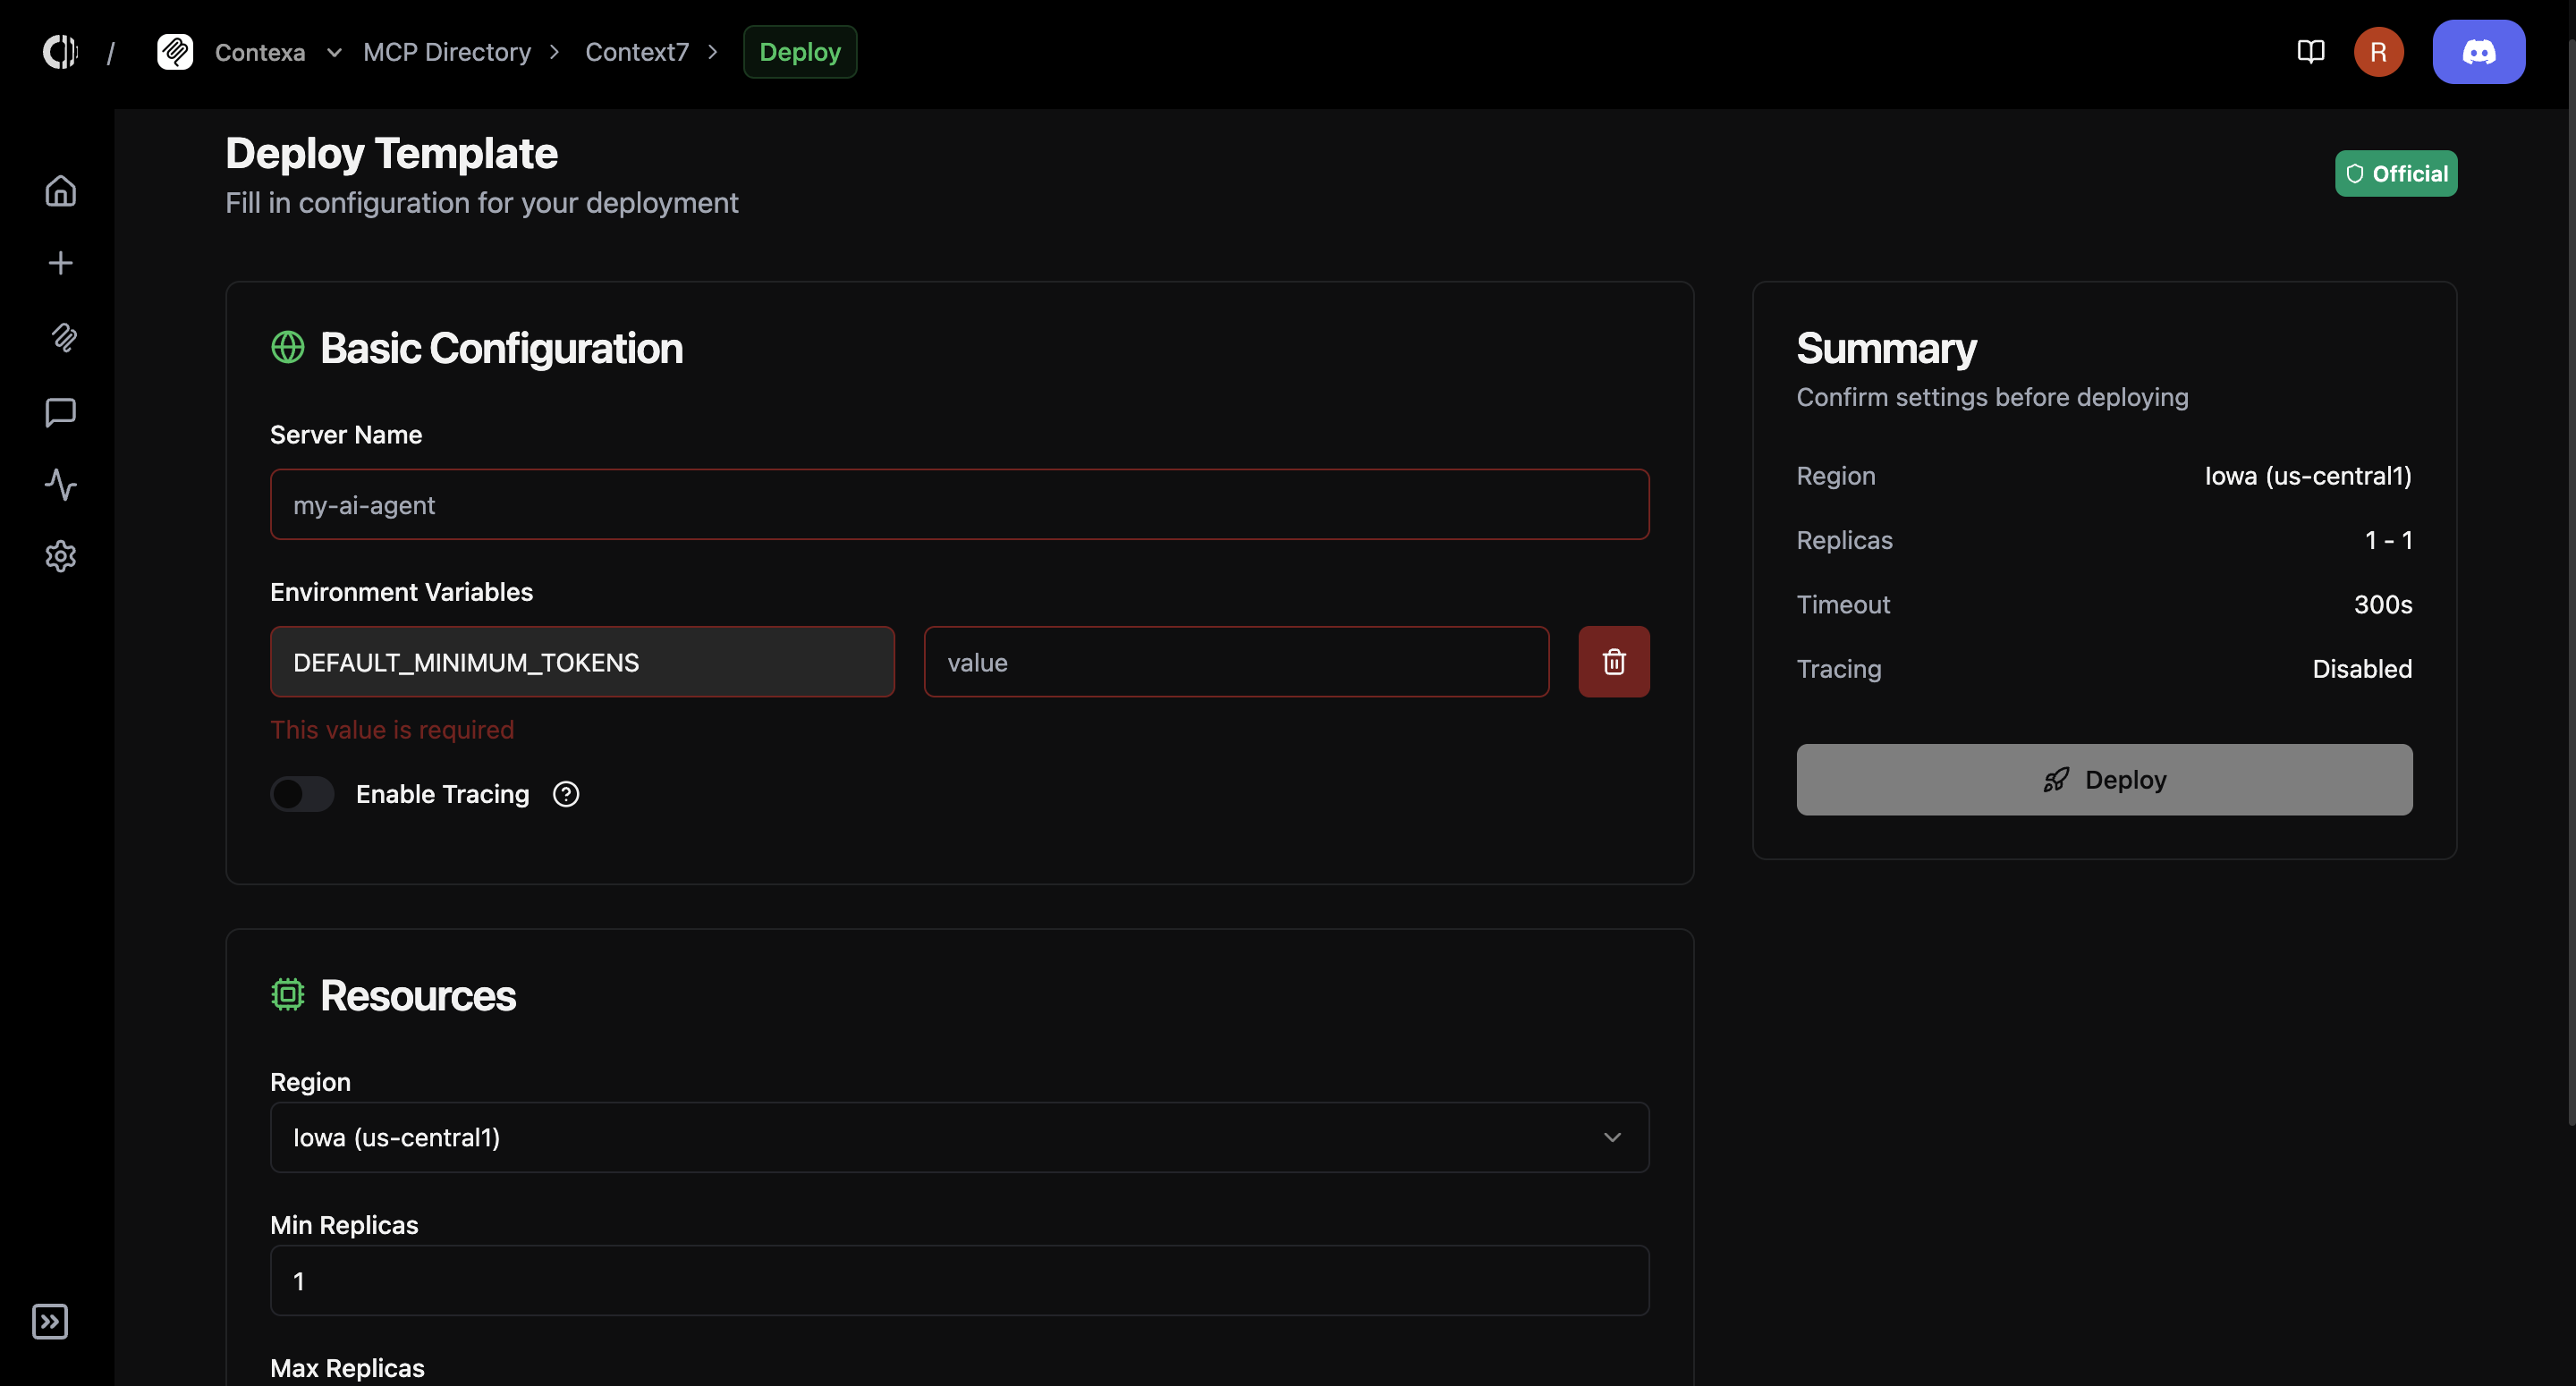
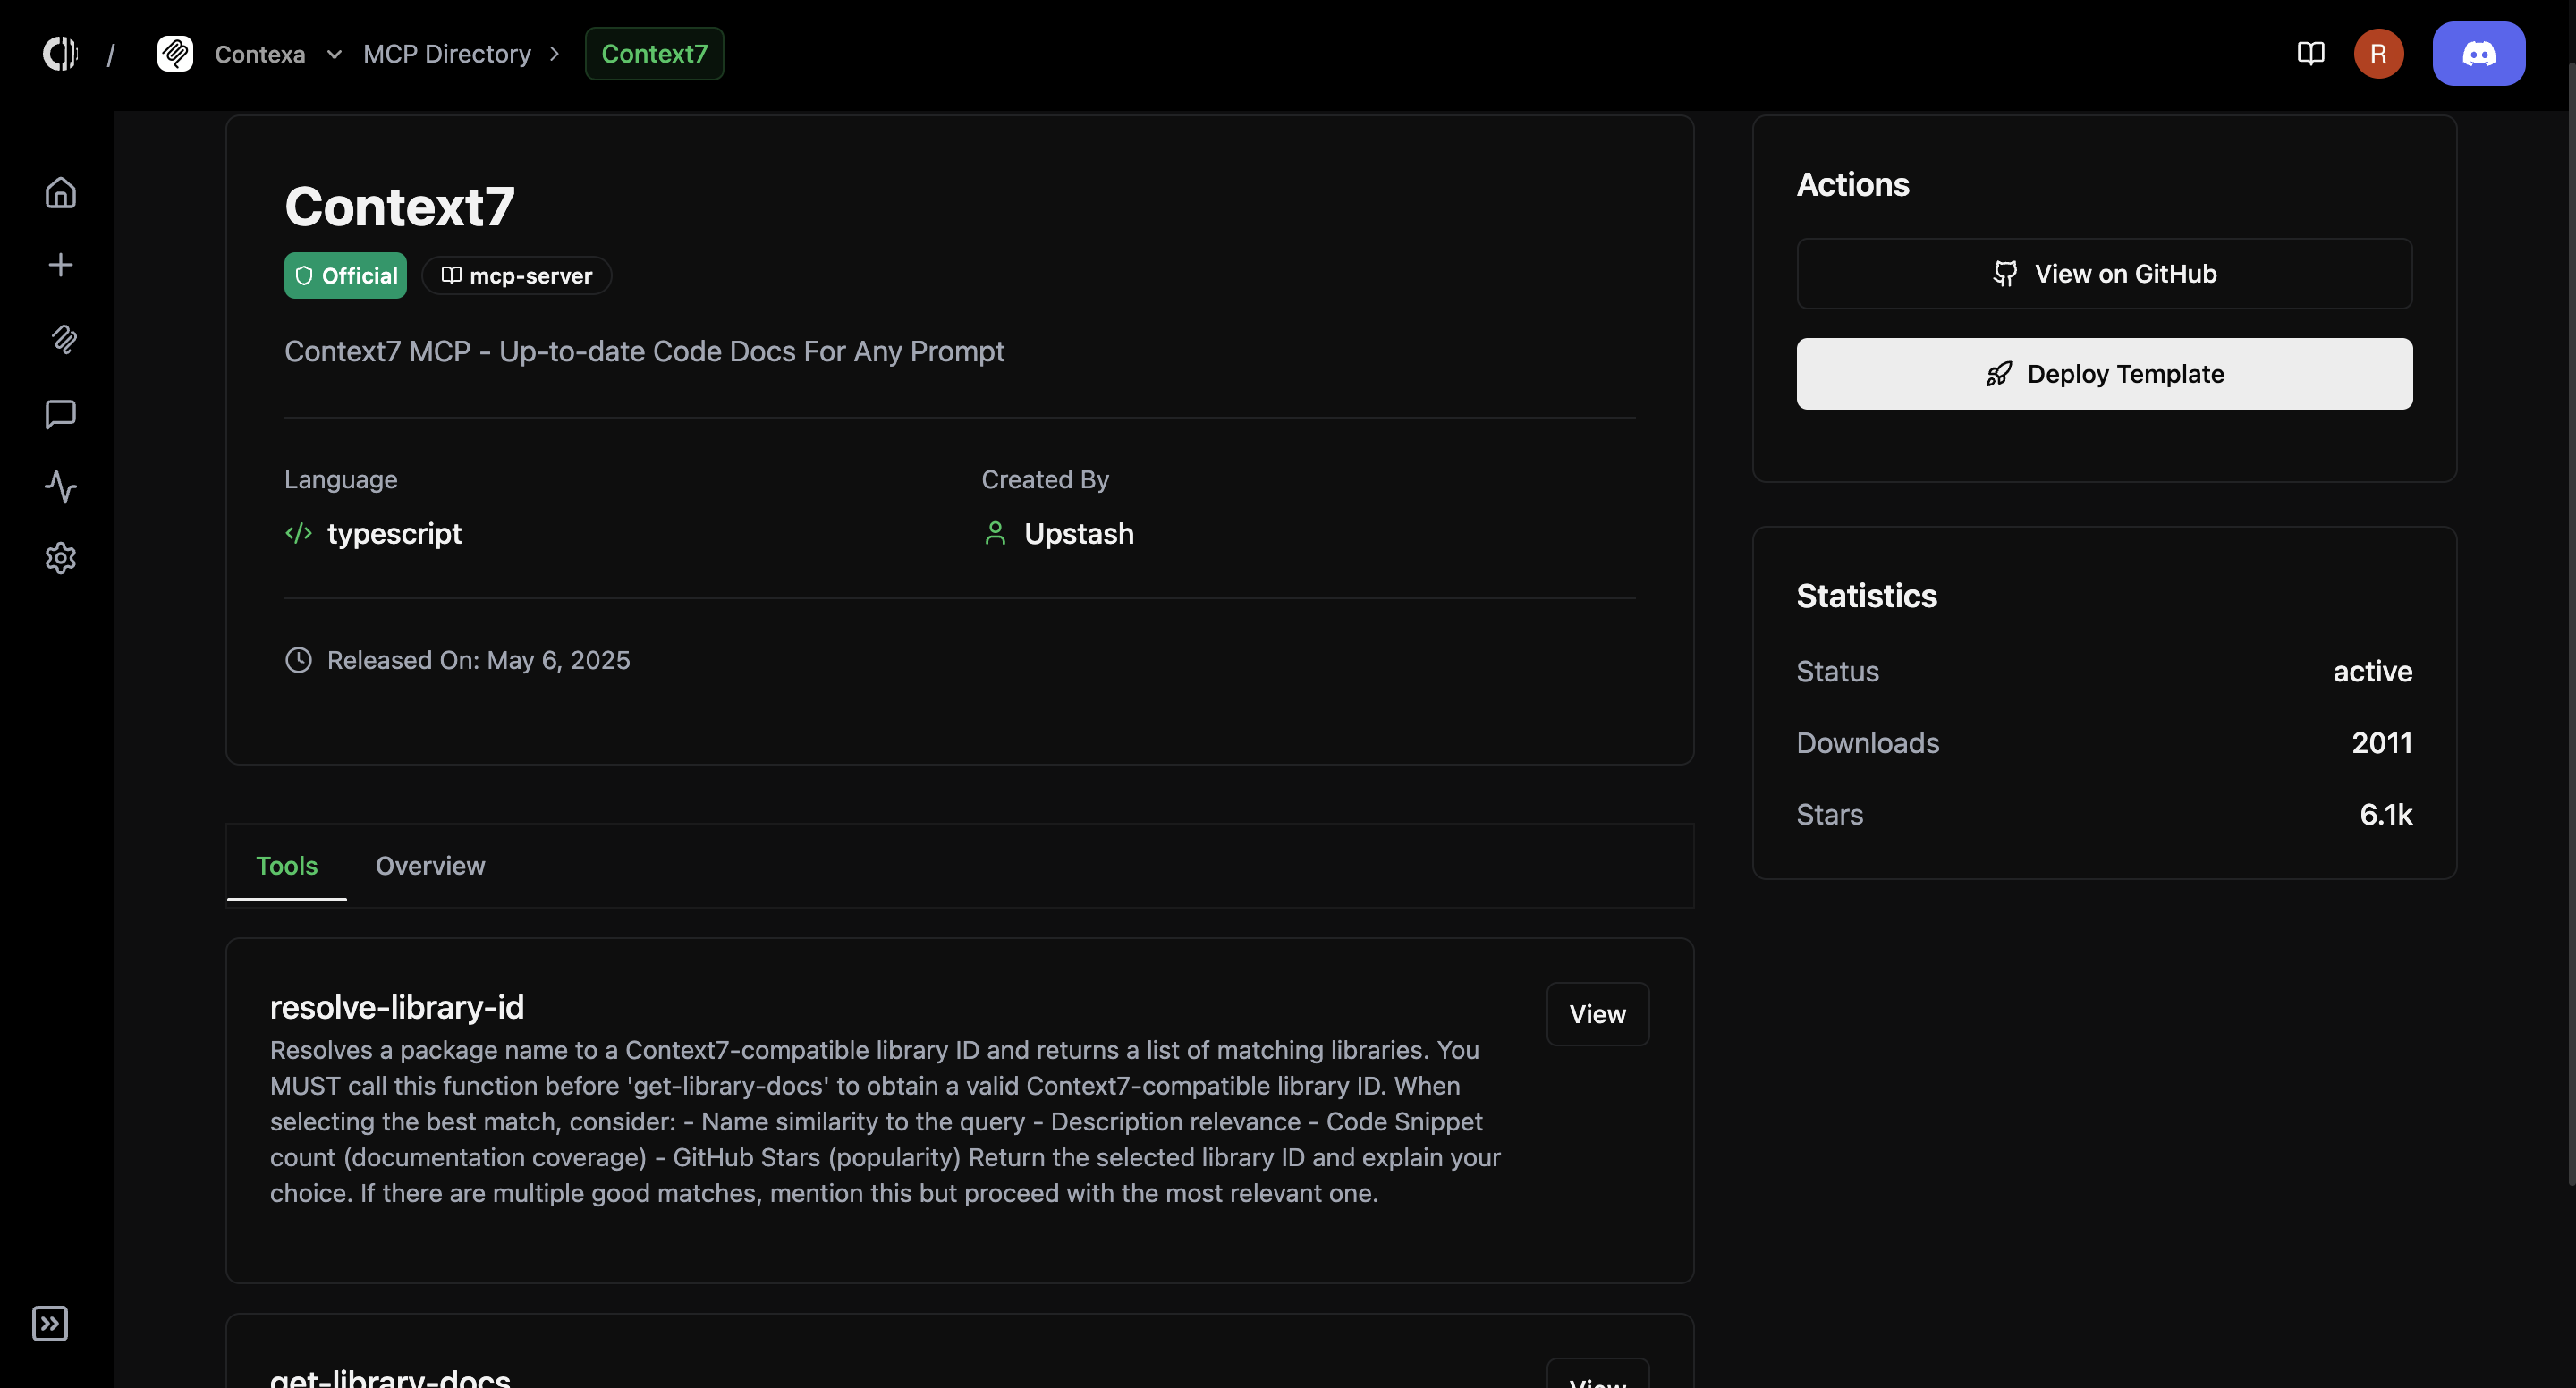 3. **Configure & Deploy:** Hit **Deploy**, give the server an instance name, paste any secrets, and choose a region. Contexa builds the image, provisions infra, and emits a public endpoint (e.g., `https://mcp.contexaai.com/v1/4n0lNwENz_PRUHUfPIXC/mcp`).
 4. **Post deployment:** Once deployed, you can view your server from the MCP servers tab from your navigation panel. You can start using your server in any MCP compatible client by copying the configuration or you can start chatting with your server using **Contexa's in-built chat client.**