> ## Documentation Index
> Fetch the complete documentation index at: https://docs.contexaai.com/llms.txt
> Use this file to discover all available pages before exploring further.
# Import Server via GitHub
> Deploy your server code hosted on GitHub using Contexa in minutes
## Deploy an MCP Server by Importing from GitHub
If you’ve already written and hosted your MCP server code on GitHub, Contexa makes it easy to deploy it directly - no manual setup required. Just provide the repository details, configure the environment, and go live in minutes.
This method is perfect for developers who want to bring their own logic,
tooling, or custom server implementations into the Contexa ecosystem.
Before deploying a server from your GitHub repository, make sure it meets the following requirements:
1. **Dockerfile present**\
Your repository must contain a valid `Dockerfile` in the root or specified directory.
2. **Base Image Recommendation** *(Preferred)*\
Use an **Alpine**-based image (e.g., `python:3.11-alpine`, `node:20-alpine`) for smaller image sizes and faster deployments.
```typescript theme={null}
FROM node:lts-alpine
```
3. **Port Exposure**\
The `Dockerfile` must expose port **8080**
```typescript theme={null}
EXPOSE 8080
```
4. **Tracing (Optional)**\
If you want to enable request tracing, install and configure the `mcp-trace` library in your application.
* Add it to your dependencies.
Example Dockerfile
```shellscript Node theme={null}
FROM node:lts-alpine
WORKDIR /app
# Copy package files and install dependencies without running prepare scripts
COPY package*.json ./
RUN npm install
# Copy rest of the source code
COPY . .
# Build the project explicitly
RUN npm run build
# Expose HTTP port
EXPOSE 8080
# Start MCP server
CMD ["node","dist/index.js"]
```
```shellscript Python theme={null}
# Use a lightweight Python base image
FROM python:3.11-alpine
WORKDIR /app
# Install system dependencies (if needed)
# Example: build tools for compiling certain Python packages
RUN apk add --no-cache gcc musl-dev libffi-dev
# Copy Python dependency files and install
COPY requirements.txt ./
RUN pip install --no-cache-dir -r requirements.txt
# Copy source code
COPY . .
# Expose HTTP port
EXPOSE 8080
# Start the MCP server
CMD ["python", "main.py"]
```
### Step-by-step Instructions
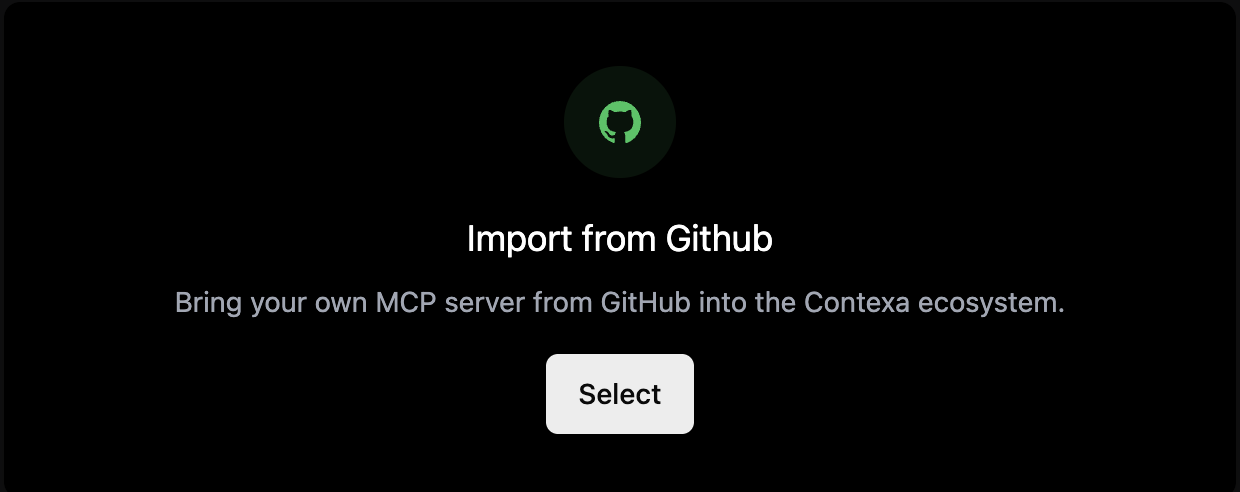
1. **Go to the “Create MCP Server” section** and select the **“Import from GitHub”** option.\
*(You’ll see the “Import from GitHub” card with a GitHub icon and a “Select” button.)*
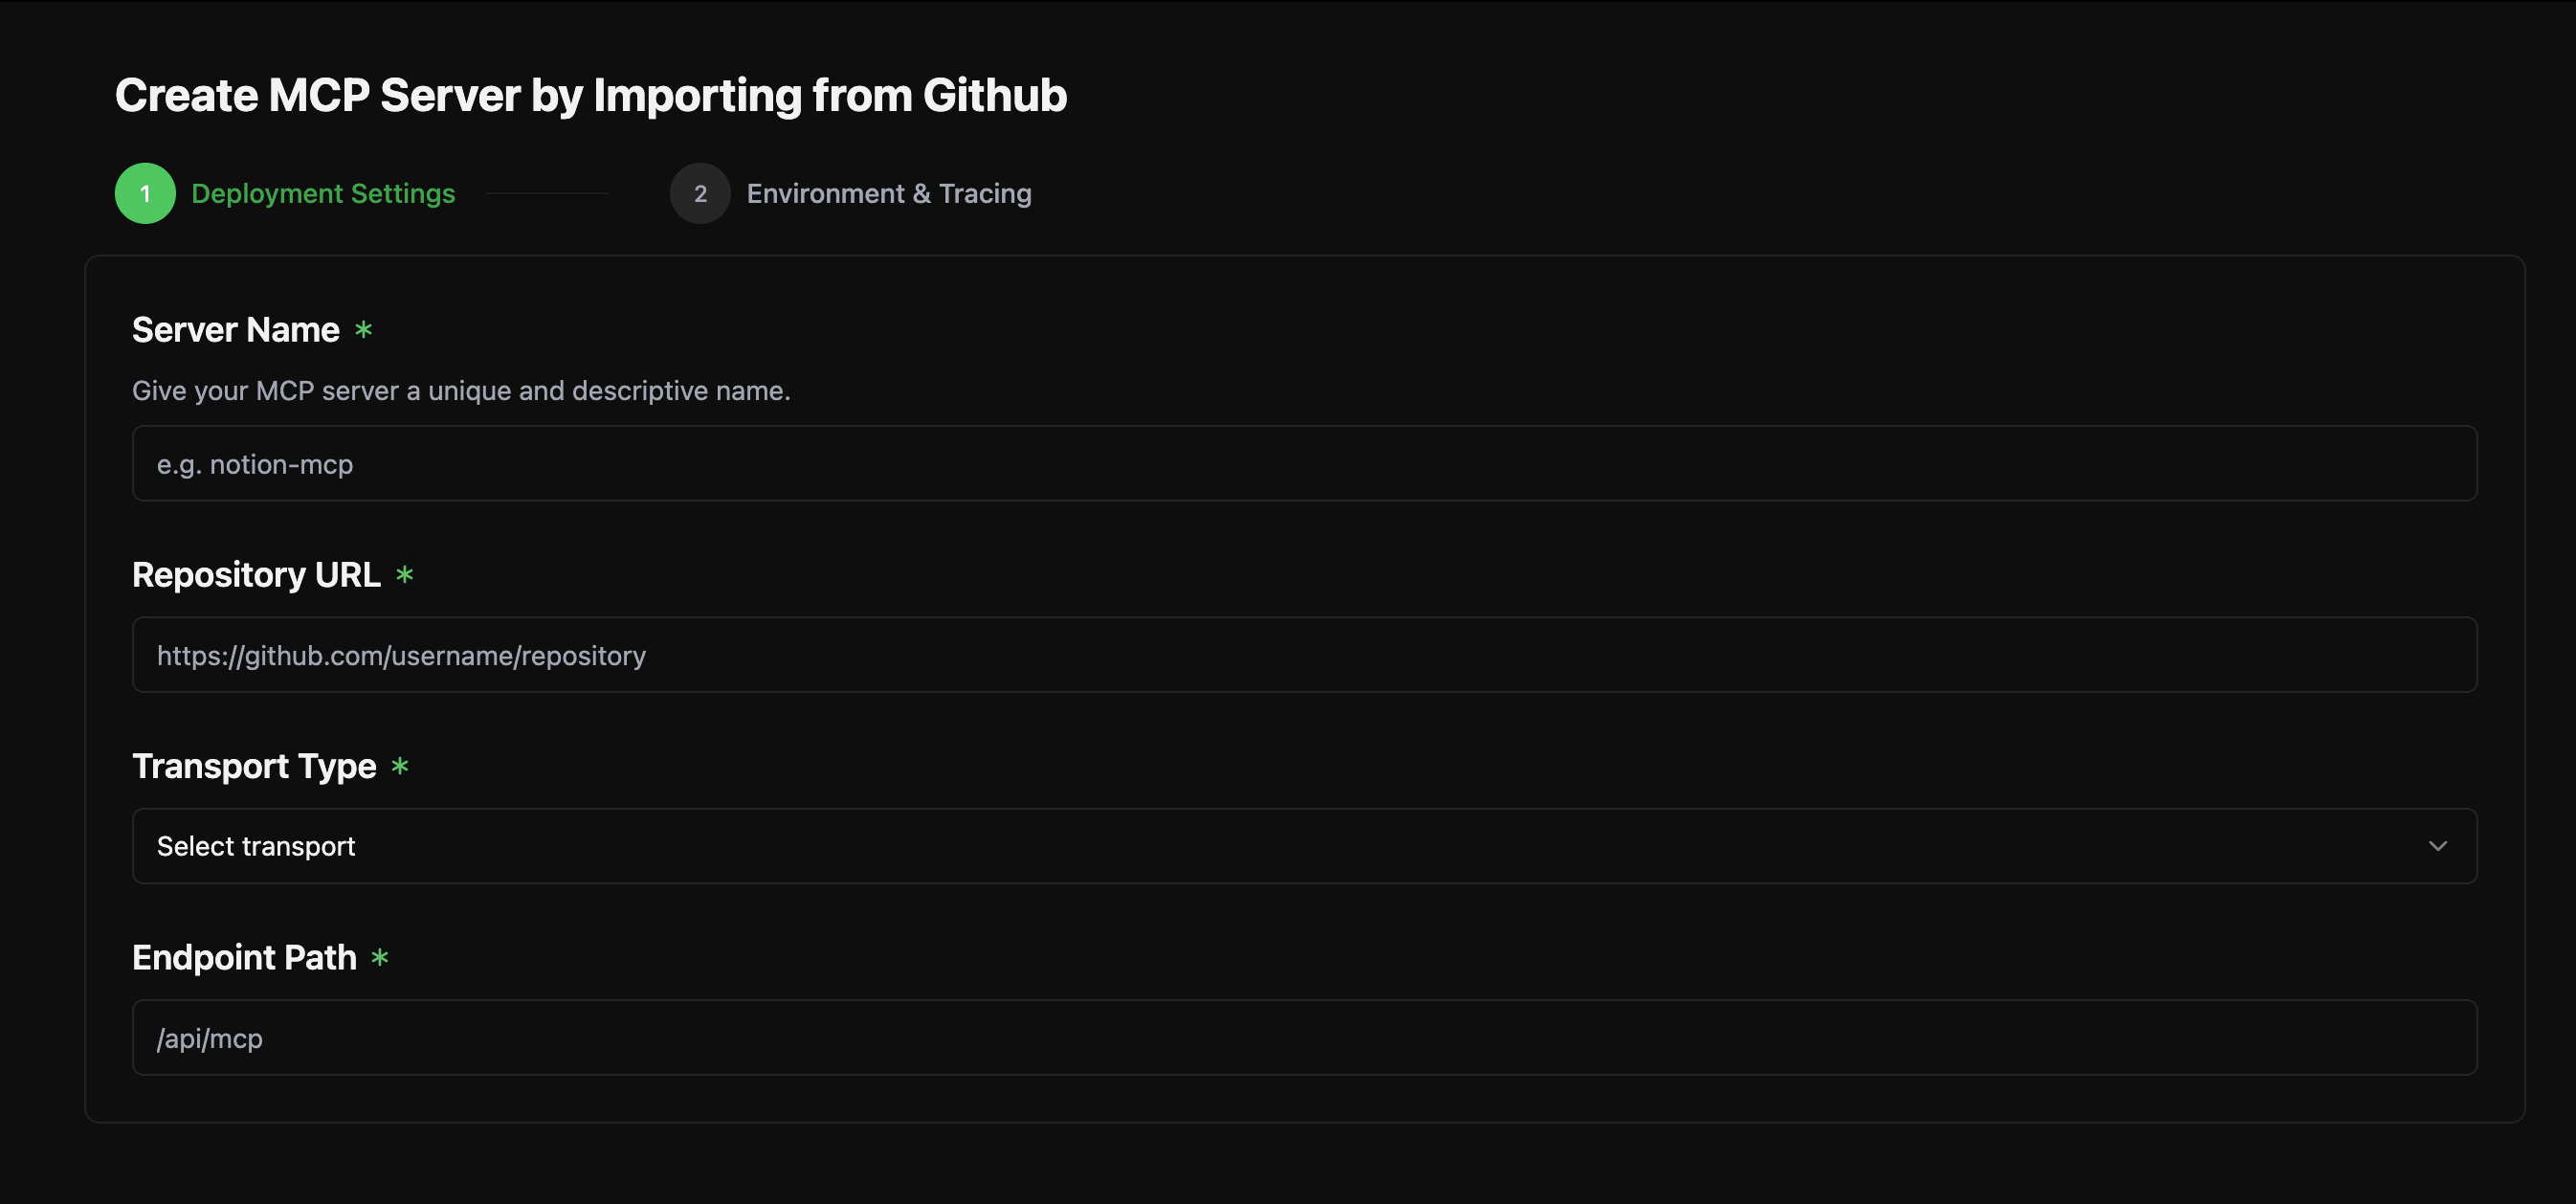
 2. **Fill in the required deployment settings:**
* **Server Name** – Give your server a unique name (e.g., `notion-mcp`)
* **Repository URL** – Paste the GitHub repo URL (e.g., `https://github.com/username/repository`)
* **Transport Type** – Select your server’s supported transport protocol (e.g., HTTP, SSE, etc.)
* **Endpoint Path** – Define the route where your MCP server will be hosted (e.g., `/api/mcp`)
*This information is collected in the first step of the deployment wizard under “Deployment Settings.”*
2. **Fill in the required deployment settings:**
* **Server Name** – Give your server a unique name (e.g., `notion-mcp`)
* **Repository URL** – Paste the GitHub repo URL (e.g., `https://github.com/username/repository`)
* **Transport Type** – Select your server’s supported transport protocol (e.g., HTTP, SSE, etc.)
* **Endpoint Path** – Define the route where your MCP server will be hosted (e.g., `/api/mcp`)
*This information is collected in the first step of the deployment wizard under “Deployment Settings.”*
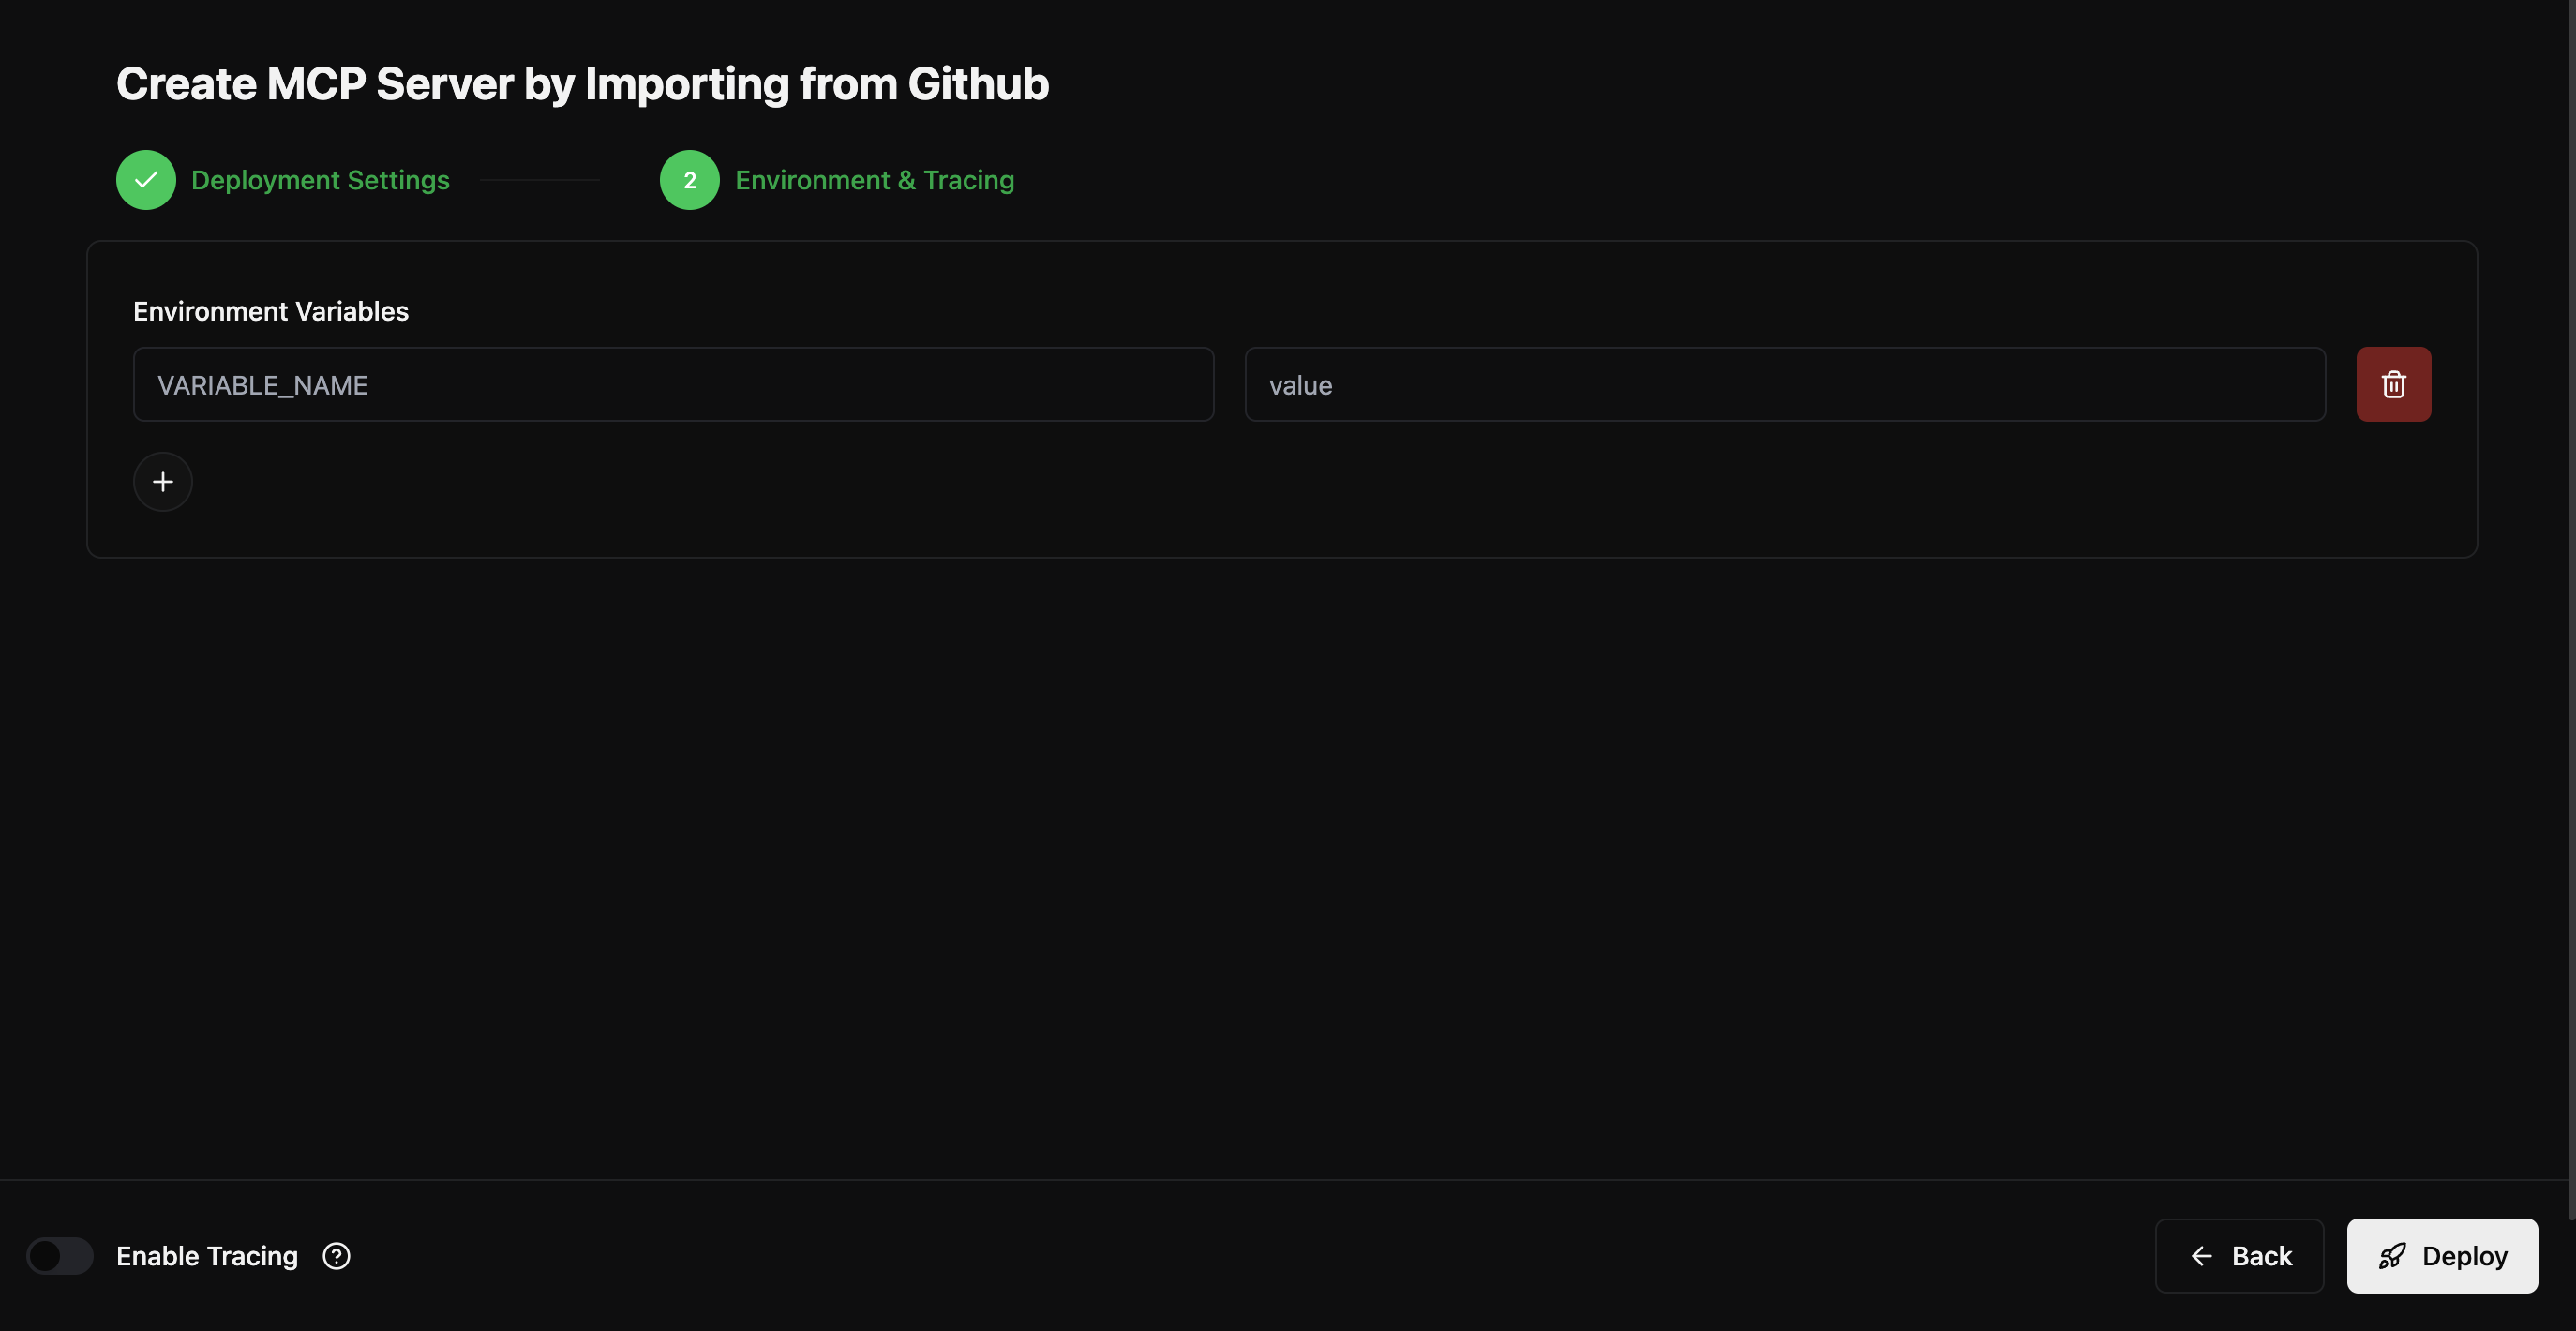
 3. **Click “Next”** to move to the **Environment & Tracing** step.
4. **Configure any environment variables** your server needs:
* Define key-value pairs (e.g., `API_KEY=xyz123`)
* You can add multiple variables using the `+` button.
* Optionally, **toggle on tracing** to monitor tool calls and logs after deployment.
3. **Click “Next”** to move to the **Environment & Tracing** step.
4. **Configure any environment variables** your server needs:
* Define key-value pairs (e.g., `API_KEY=xyz123`)
* You can add multiple variables using the `+` button.
* Optionally, **toggle on tracing** to monitor tool calls and logs after deployment.
 5. **Click “Deploy.”**
* Contexa builds and launches your server.
* You’ll receive a public URL where your MCP server is live and ready to be consumed by AI agents.
### Once Deployed
* The server is now accessible through a single MCP-compatible endpoint.
* You can connect it with **Cursor**, **Copilot Studio**, **Gemini**, or any other agent framework that supports MCP.
* Manage your server via the Contexa dashboard for logs, updates, and scaling.
After deploying your server, you can start using the server across any MCP
compatible client by copying the config and pasting it in the mcp.json file
for your respective client.
5. **Click “Deploy.”**
* Contexa builds and launches your server.
* You’ll receive a public URL where your MCP server is live and ready to be consumed by AI agents.
### Once Deployed
* The server is now accessible through a single MCP-compatible endpoint.
* You can connect it with **Cursor**, **Copilot Studio**, **Gemini**, or any other agent framework that supports MCP.
* Manage your server via the Contexa dashboard for logs, updates, and scaling.
After deploying your server, you can start using the server across any MCP
compatible client by copying the config and pasting it in the mcp.json file
for your respective client.