> ## Documentation Index
> Fetch the complete documentation index at: https://docs.contexaai.com/llms.txt
> Use this file to discover all available pages before exploring further.
# OpenAPI to MCP
> Easiest way to power your AI agents with your API based tools
## Convert Your APIs into an MCP Server
Sometimes, you don’t want to rely on prebuilt integrations—you want to bring your own APIs. With Contexa, you can convert any OpenAPI spec into an MCP-compatible server in minutes. Whether it's a single internal service or a bundle of APIs, you can package them under one MCP server, giving your AI agents seamless access via a single URL.
Contexa's OpenAPI-to-MCP converter automatically parses your spec, detects endpoints, and transforms them into structured tools. All you need to do is upload your spec, fine-tune the descriptions, and deploy. No manual tool-wrapping, no boilerplate code.
### How to deploy an MCP server from your OpenAPI spec
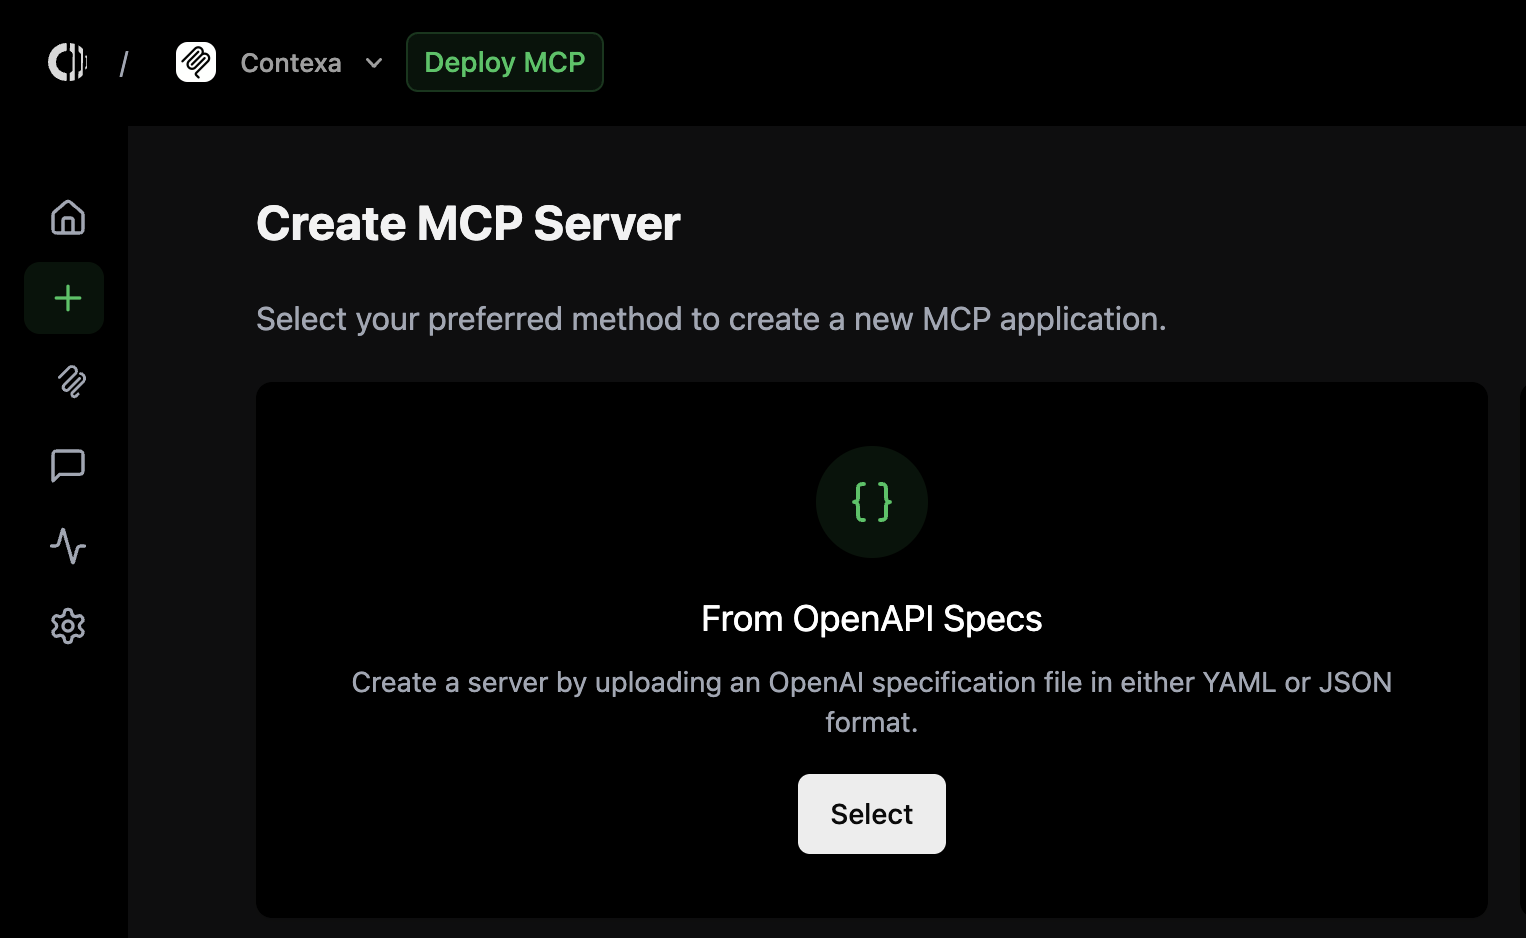
1. **Go to the “Create MCP Server” section** and select **“From OpenAPI specs.”**
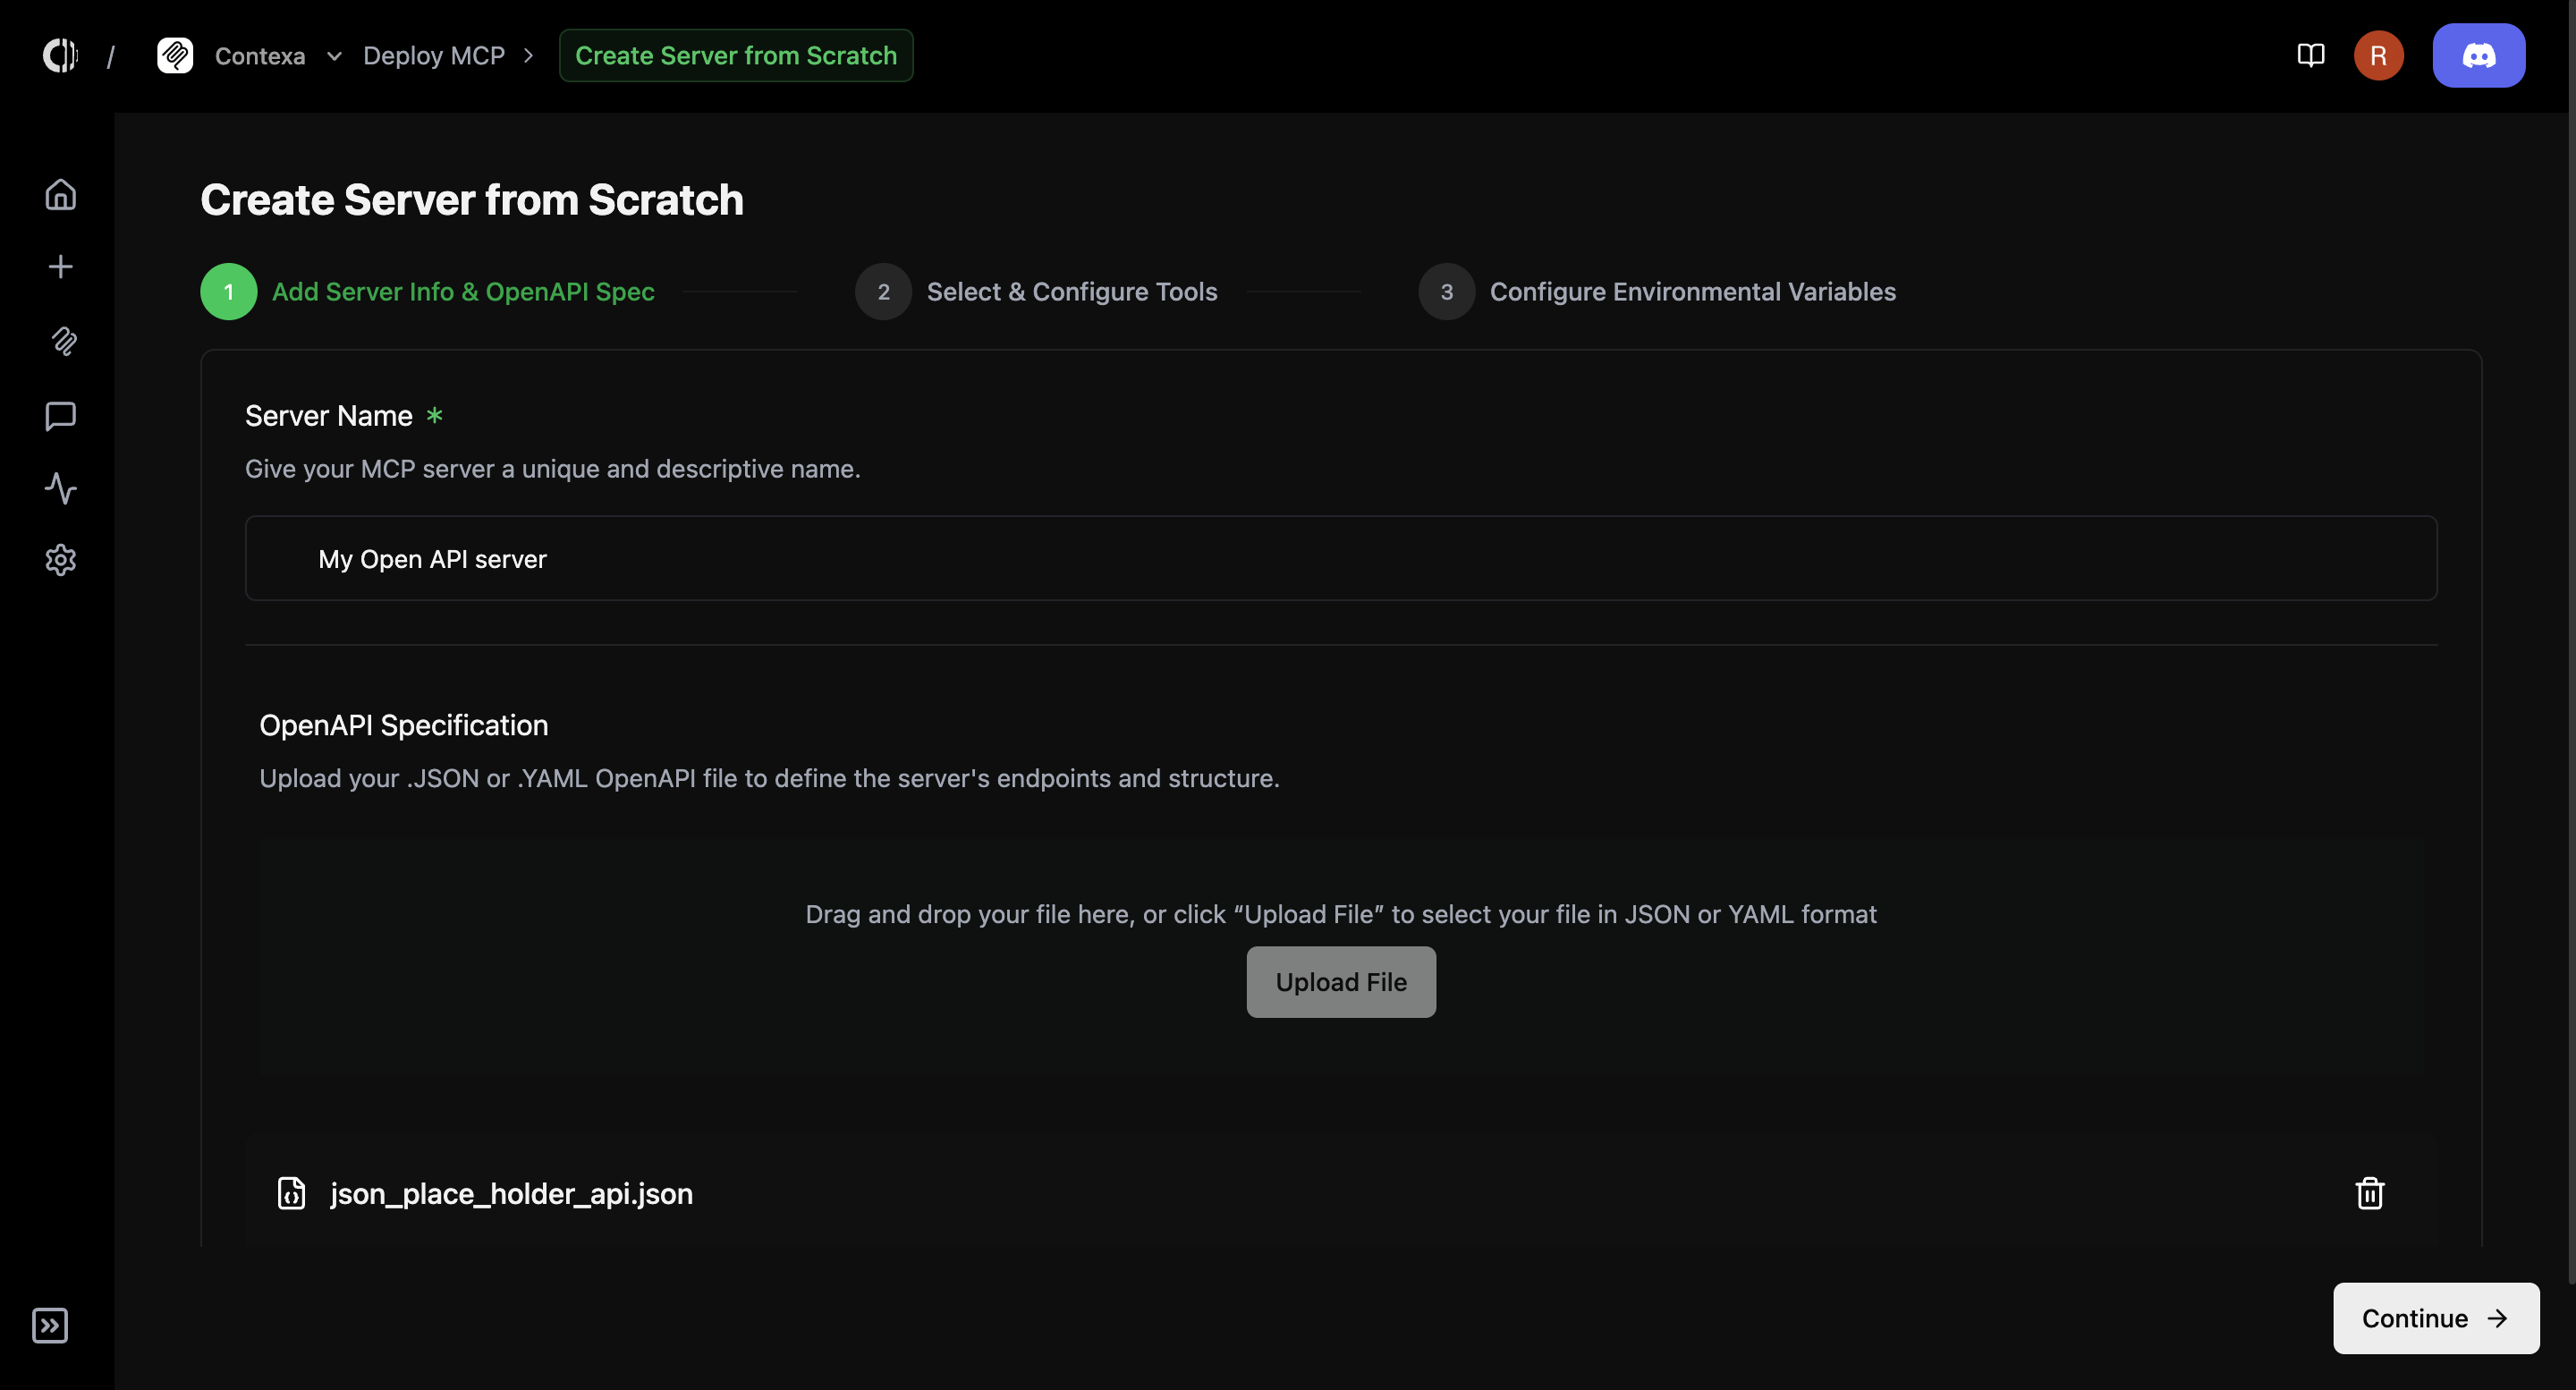
 2. **Enter a name** for your server and **upload your OpenAPI file** (YAML or JSON).
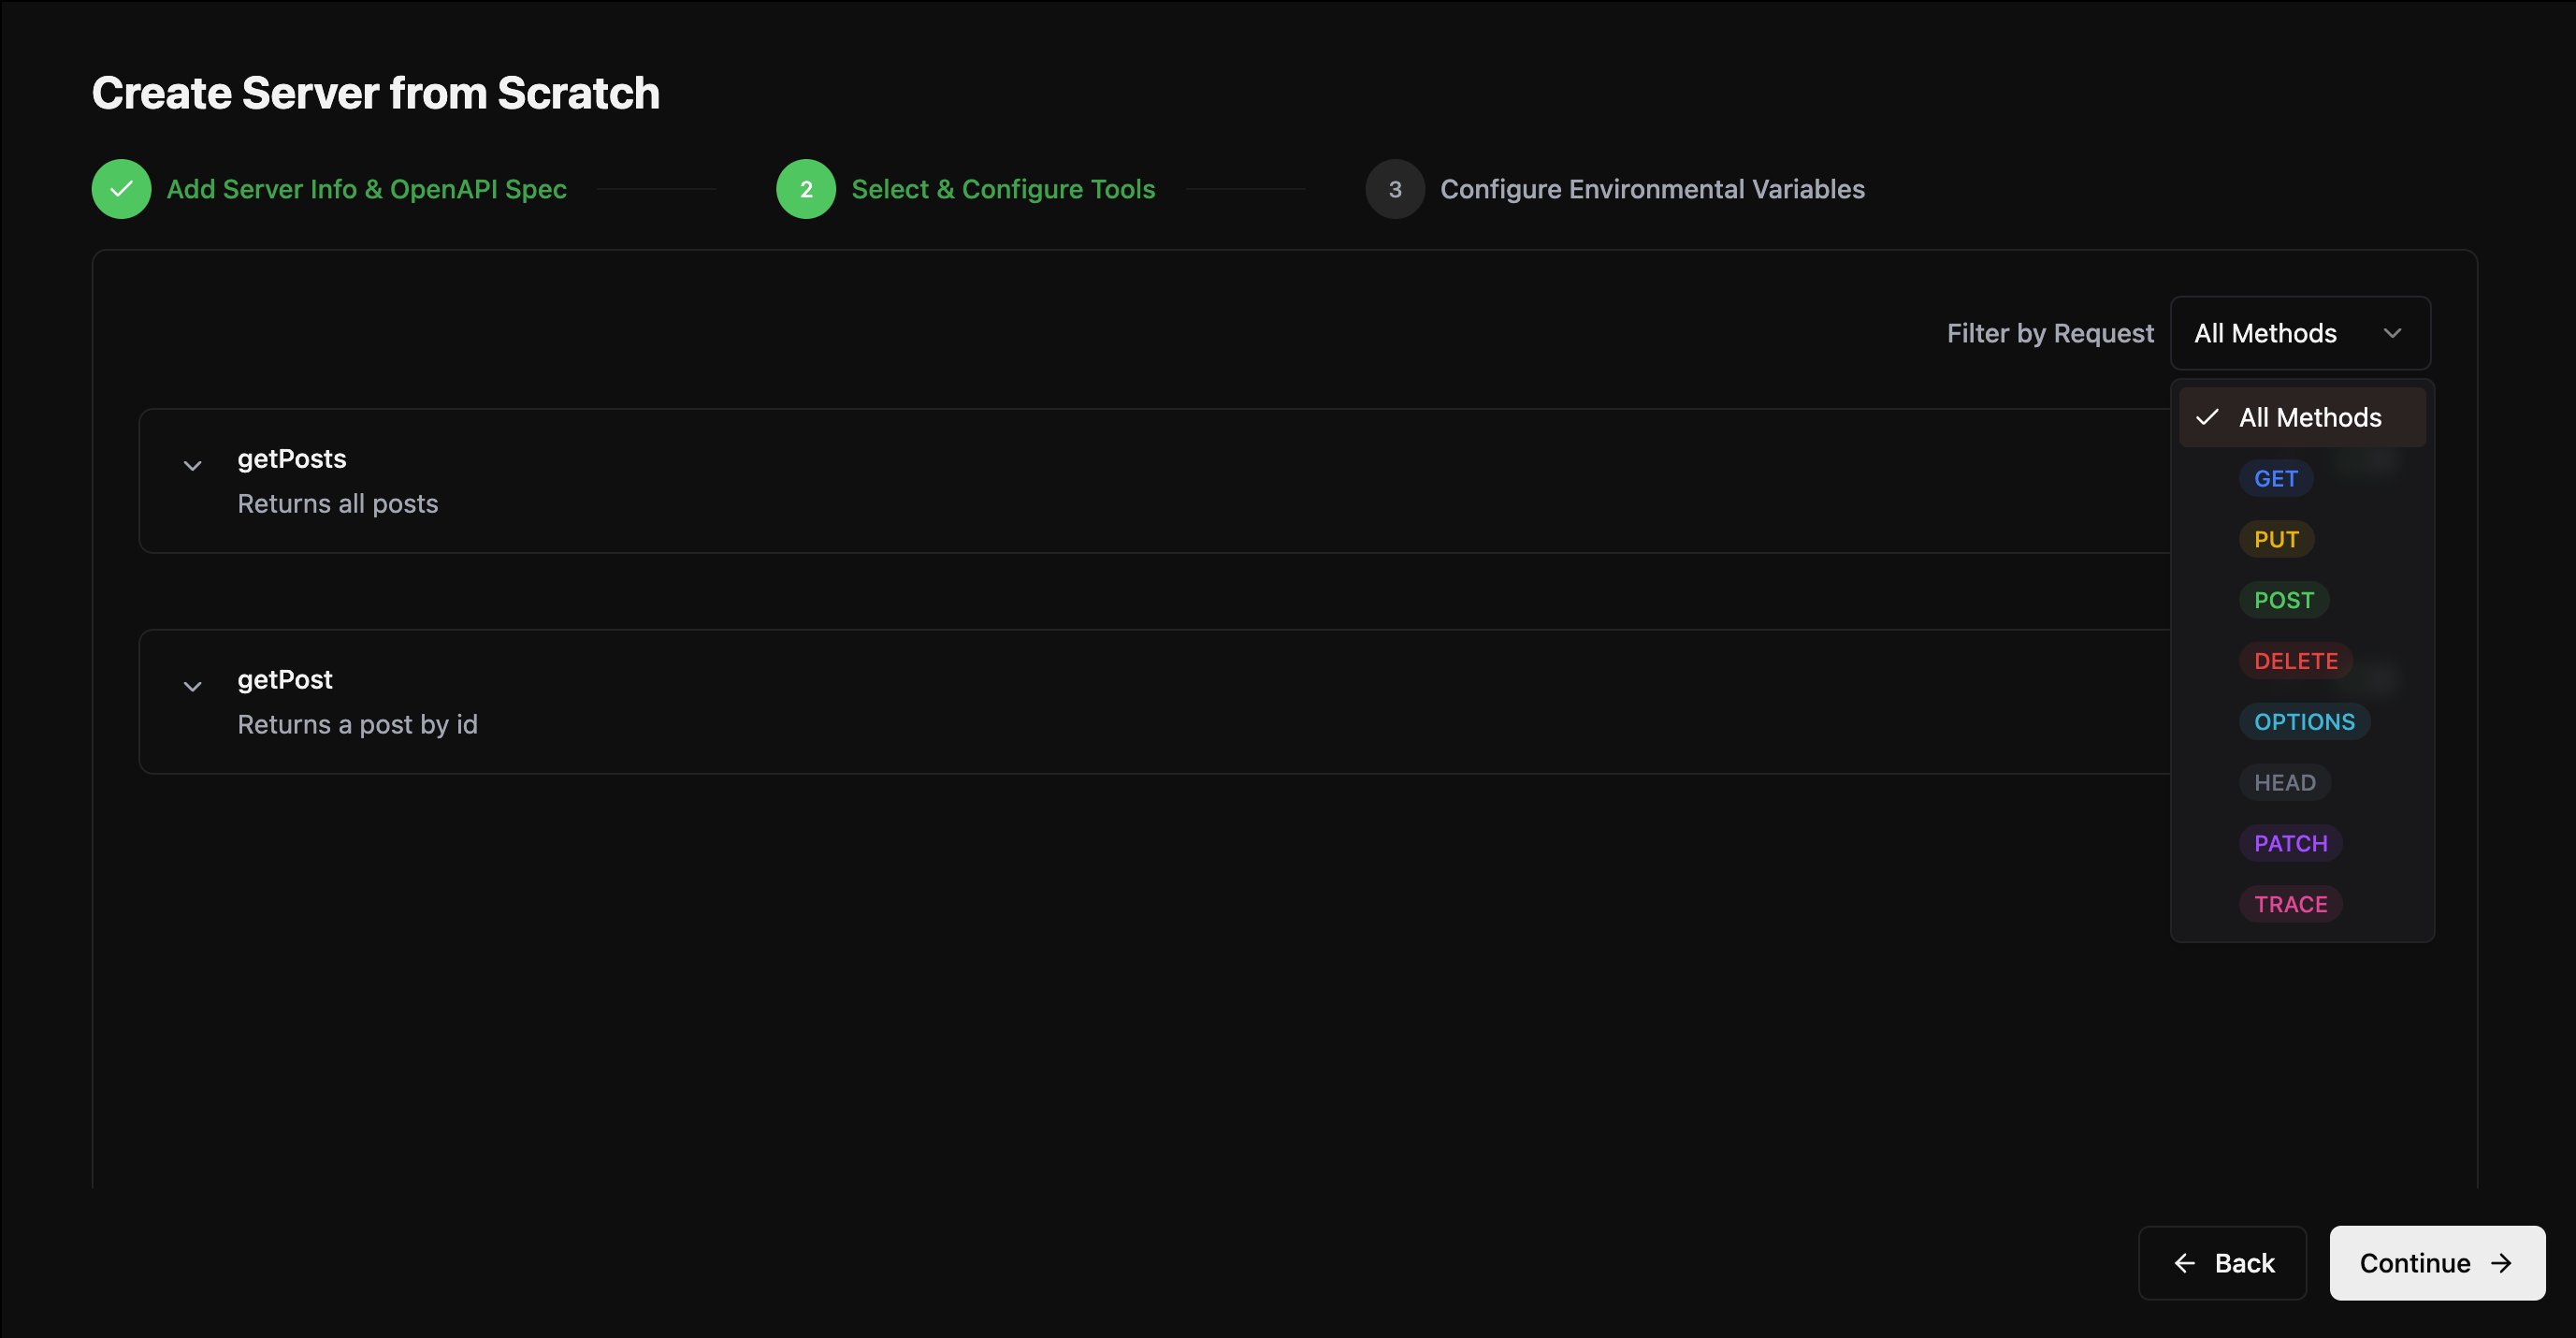
 3. **Review your endpoints**—Contexa will automatically detect and list all available routes.
* Use method filters (GET, POST, PUT, etc.)
* Toggle only the endpoints you want to include
3. **Review your endpoints**—Contexa will automatically detect and list all available routes.
* Use method filters (GET, POST, PUT, etc.)
* Toggle only the endpoints you want to include
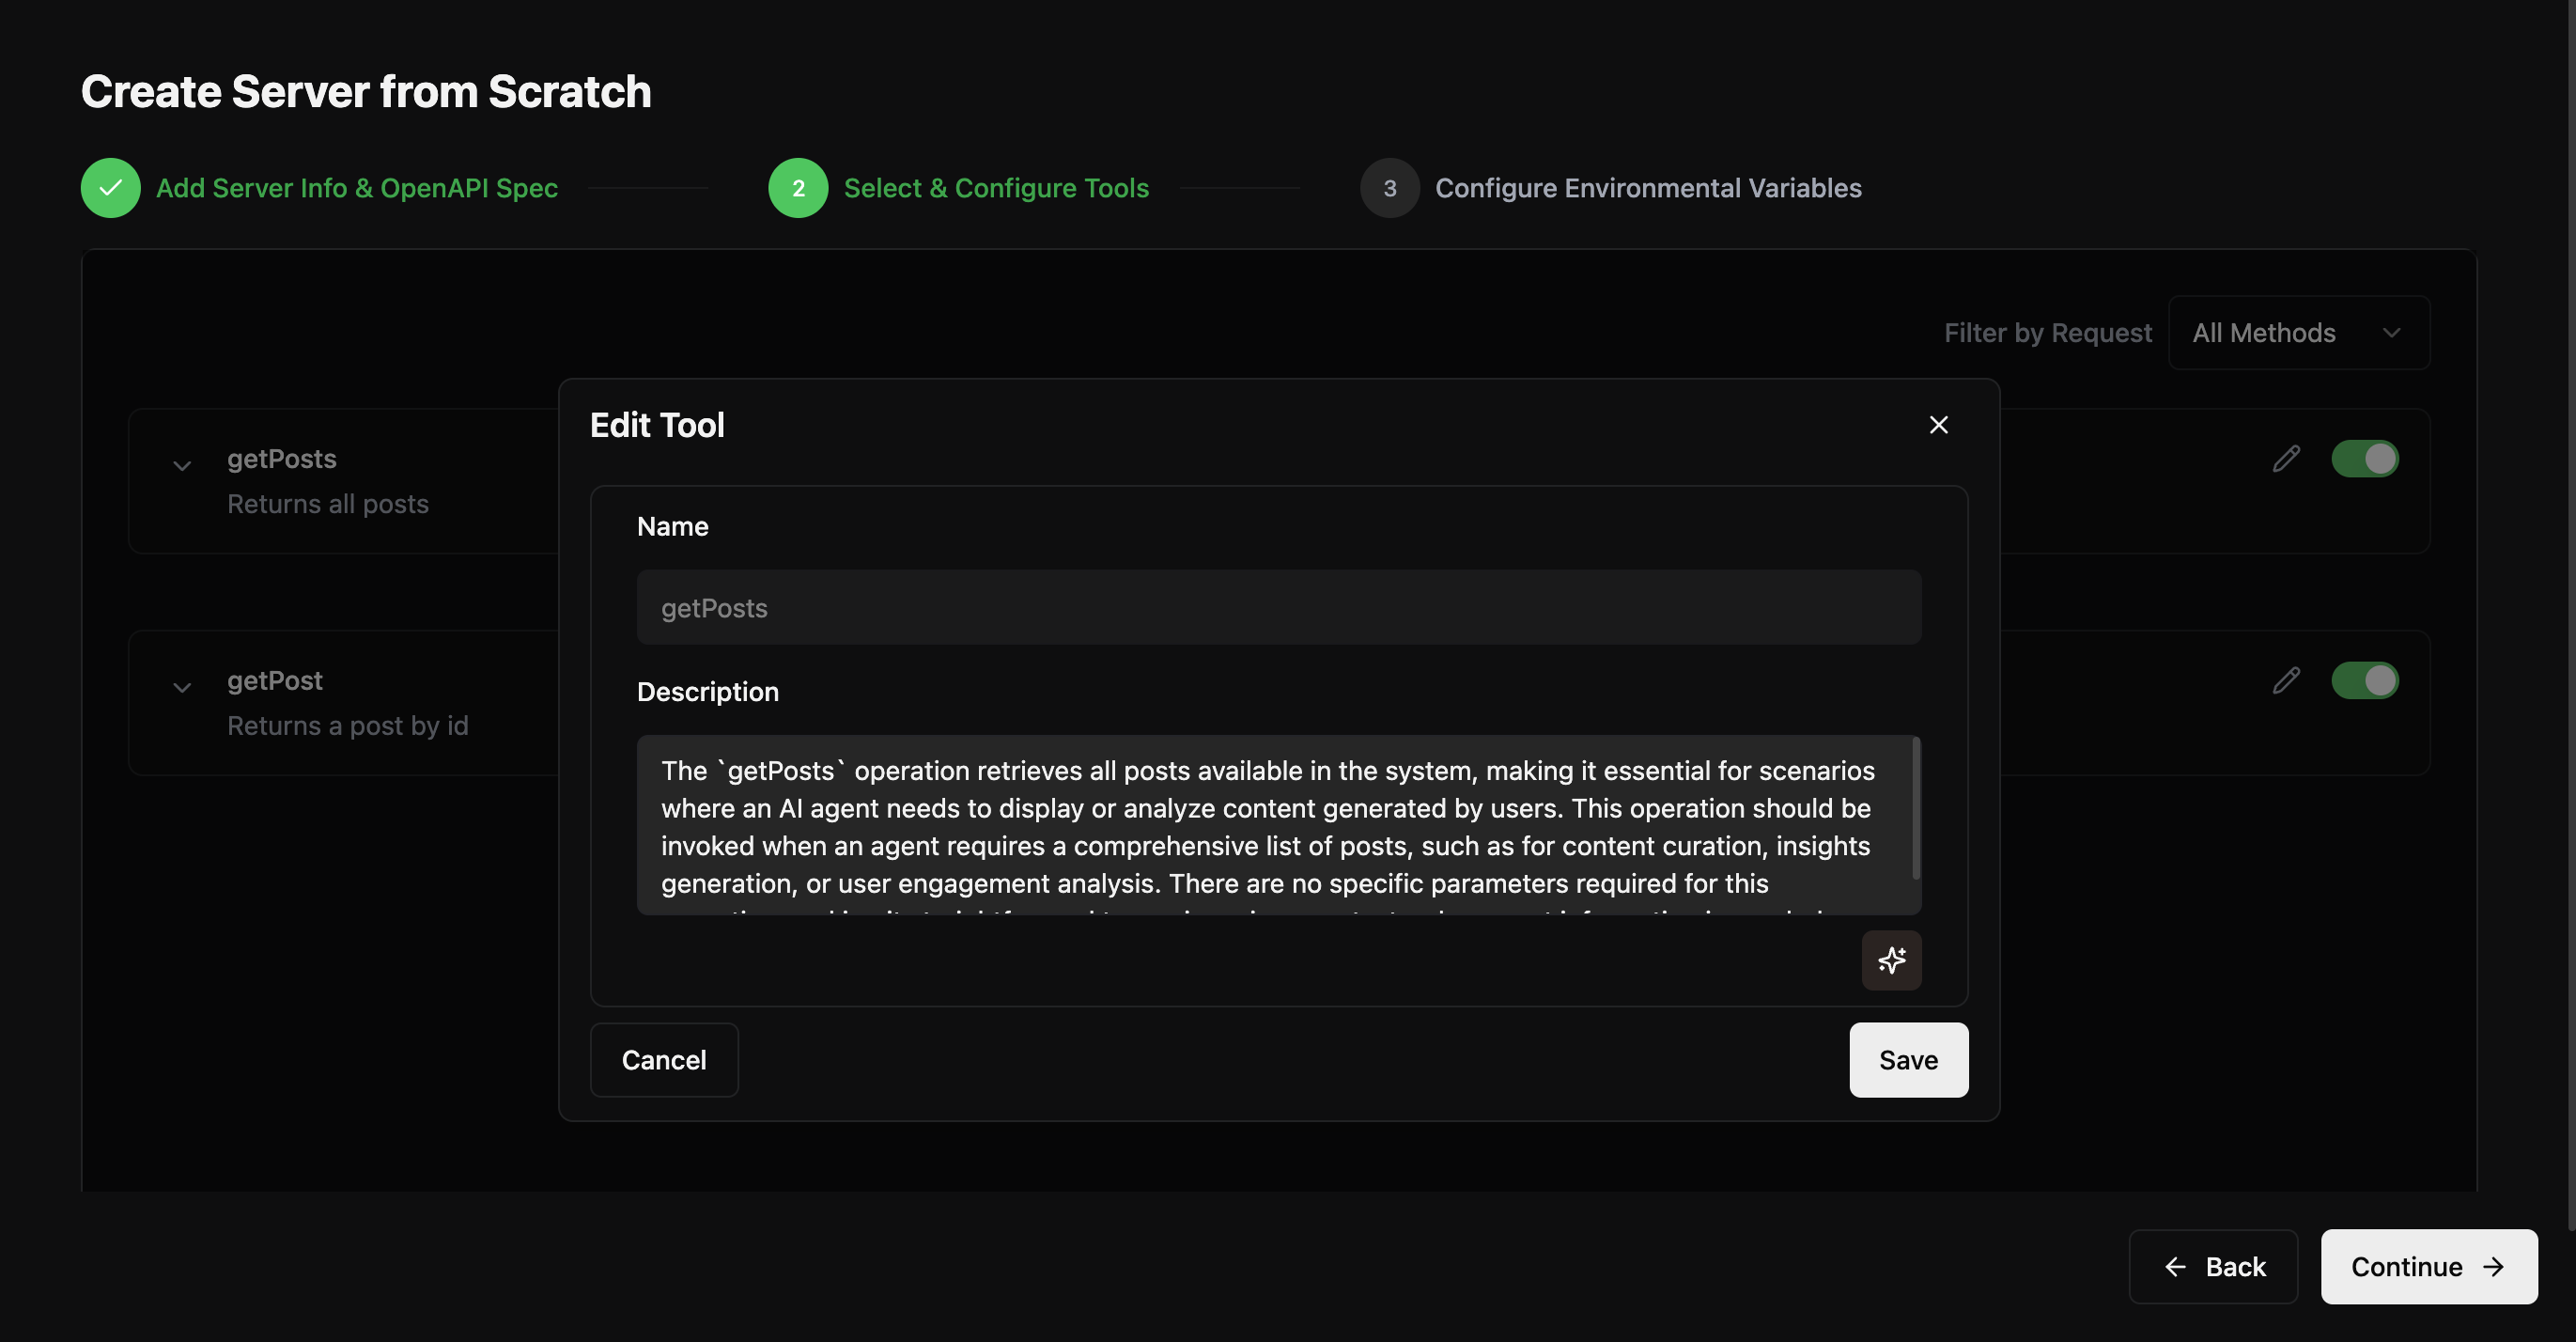
 4. **Edit tool descriptions** to make them clear and LLM-friendly.
* Use the built-in **AI generator** if you want help crafting descriptions.
4. **Edit tool descriptions** to make them clear and LLM-friendly.
* Use the built-in **AI generator** if you want help crafting descriptions.
 5. **Configure environment variables**, if needed.
* Contexa detects them automatically and prompts you for values
* Optionally enable **request tracing**
5. **Configure environment variables**, if needed.
* Contexa detects them automatically and prompts you for values
* Optionally enable **request tracing**
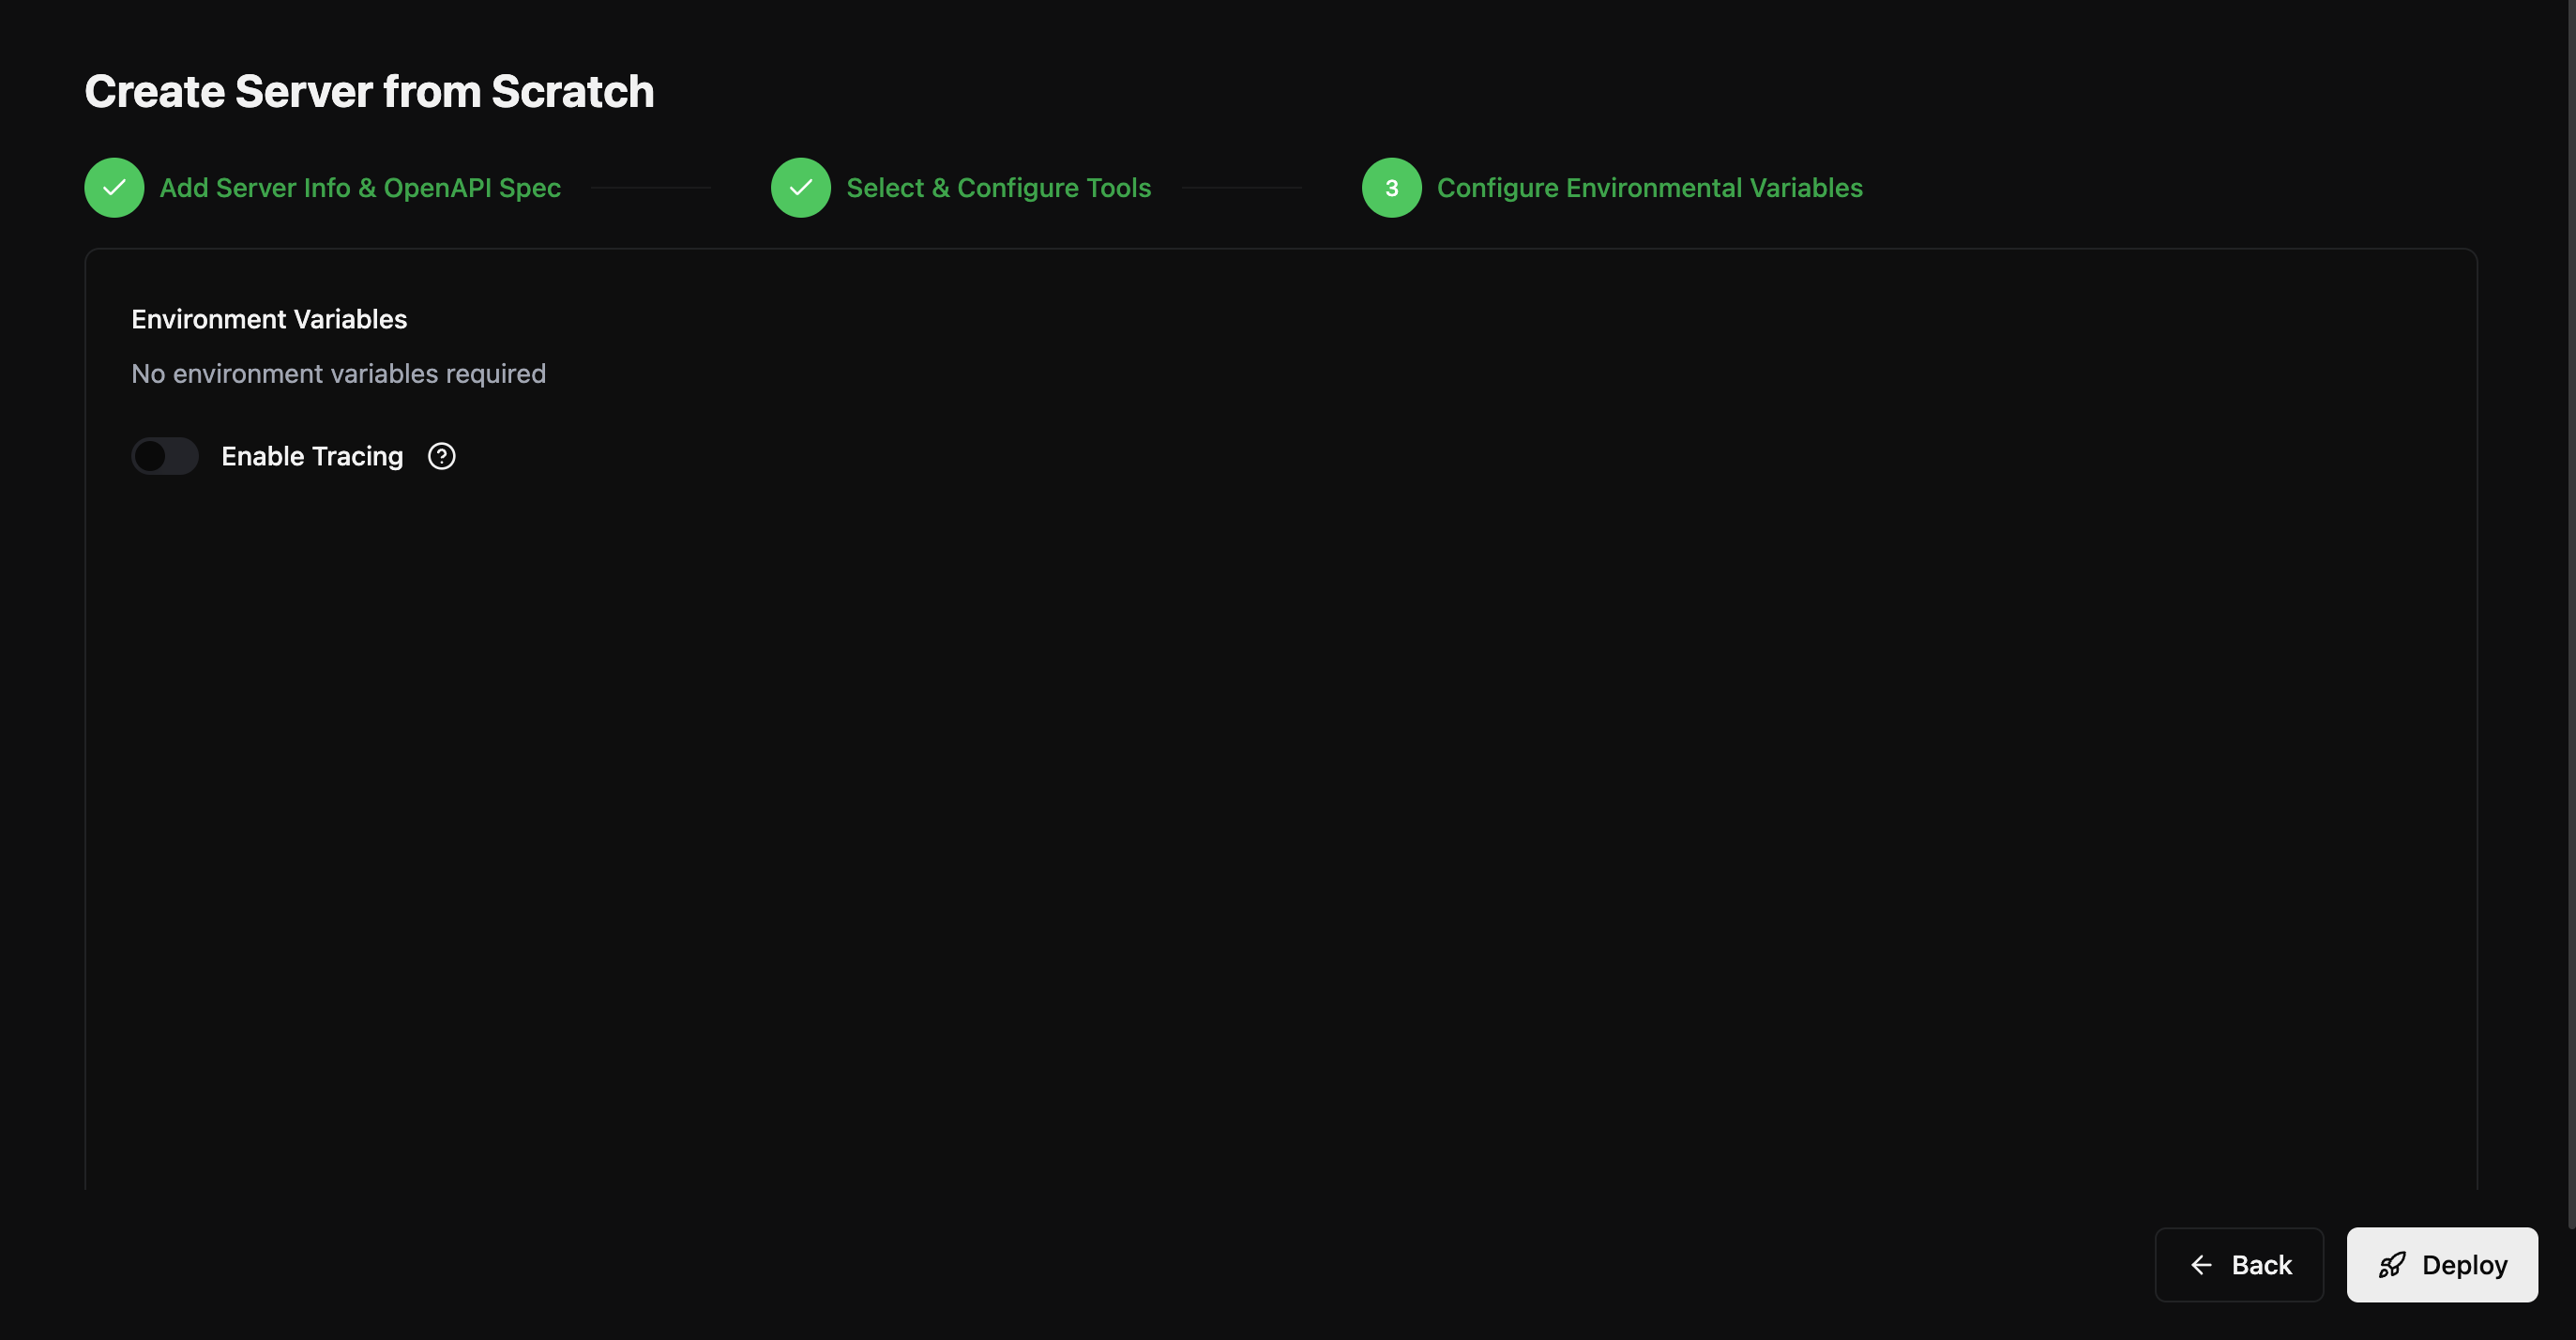 6. **Click “Deploy.”**
* Your MCP server is now live and accessible via a unique URL
Once deployed, you can test it instantly in the Playground or connect it directly to any AI agent platform that supports MCP—like Cursor, Windsurf, Claude, or VS Code.
6. **Click “Deploy.”**
* Your MCP server is now live and accessible via a unique URL
Once deployed, you can test it instantly in the Playground or connect it directly to any AI agent platform that supports MCP—like Cursor, Windsurf, Claude, or VS Code.
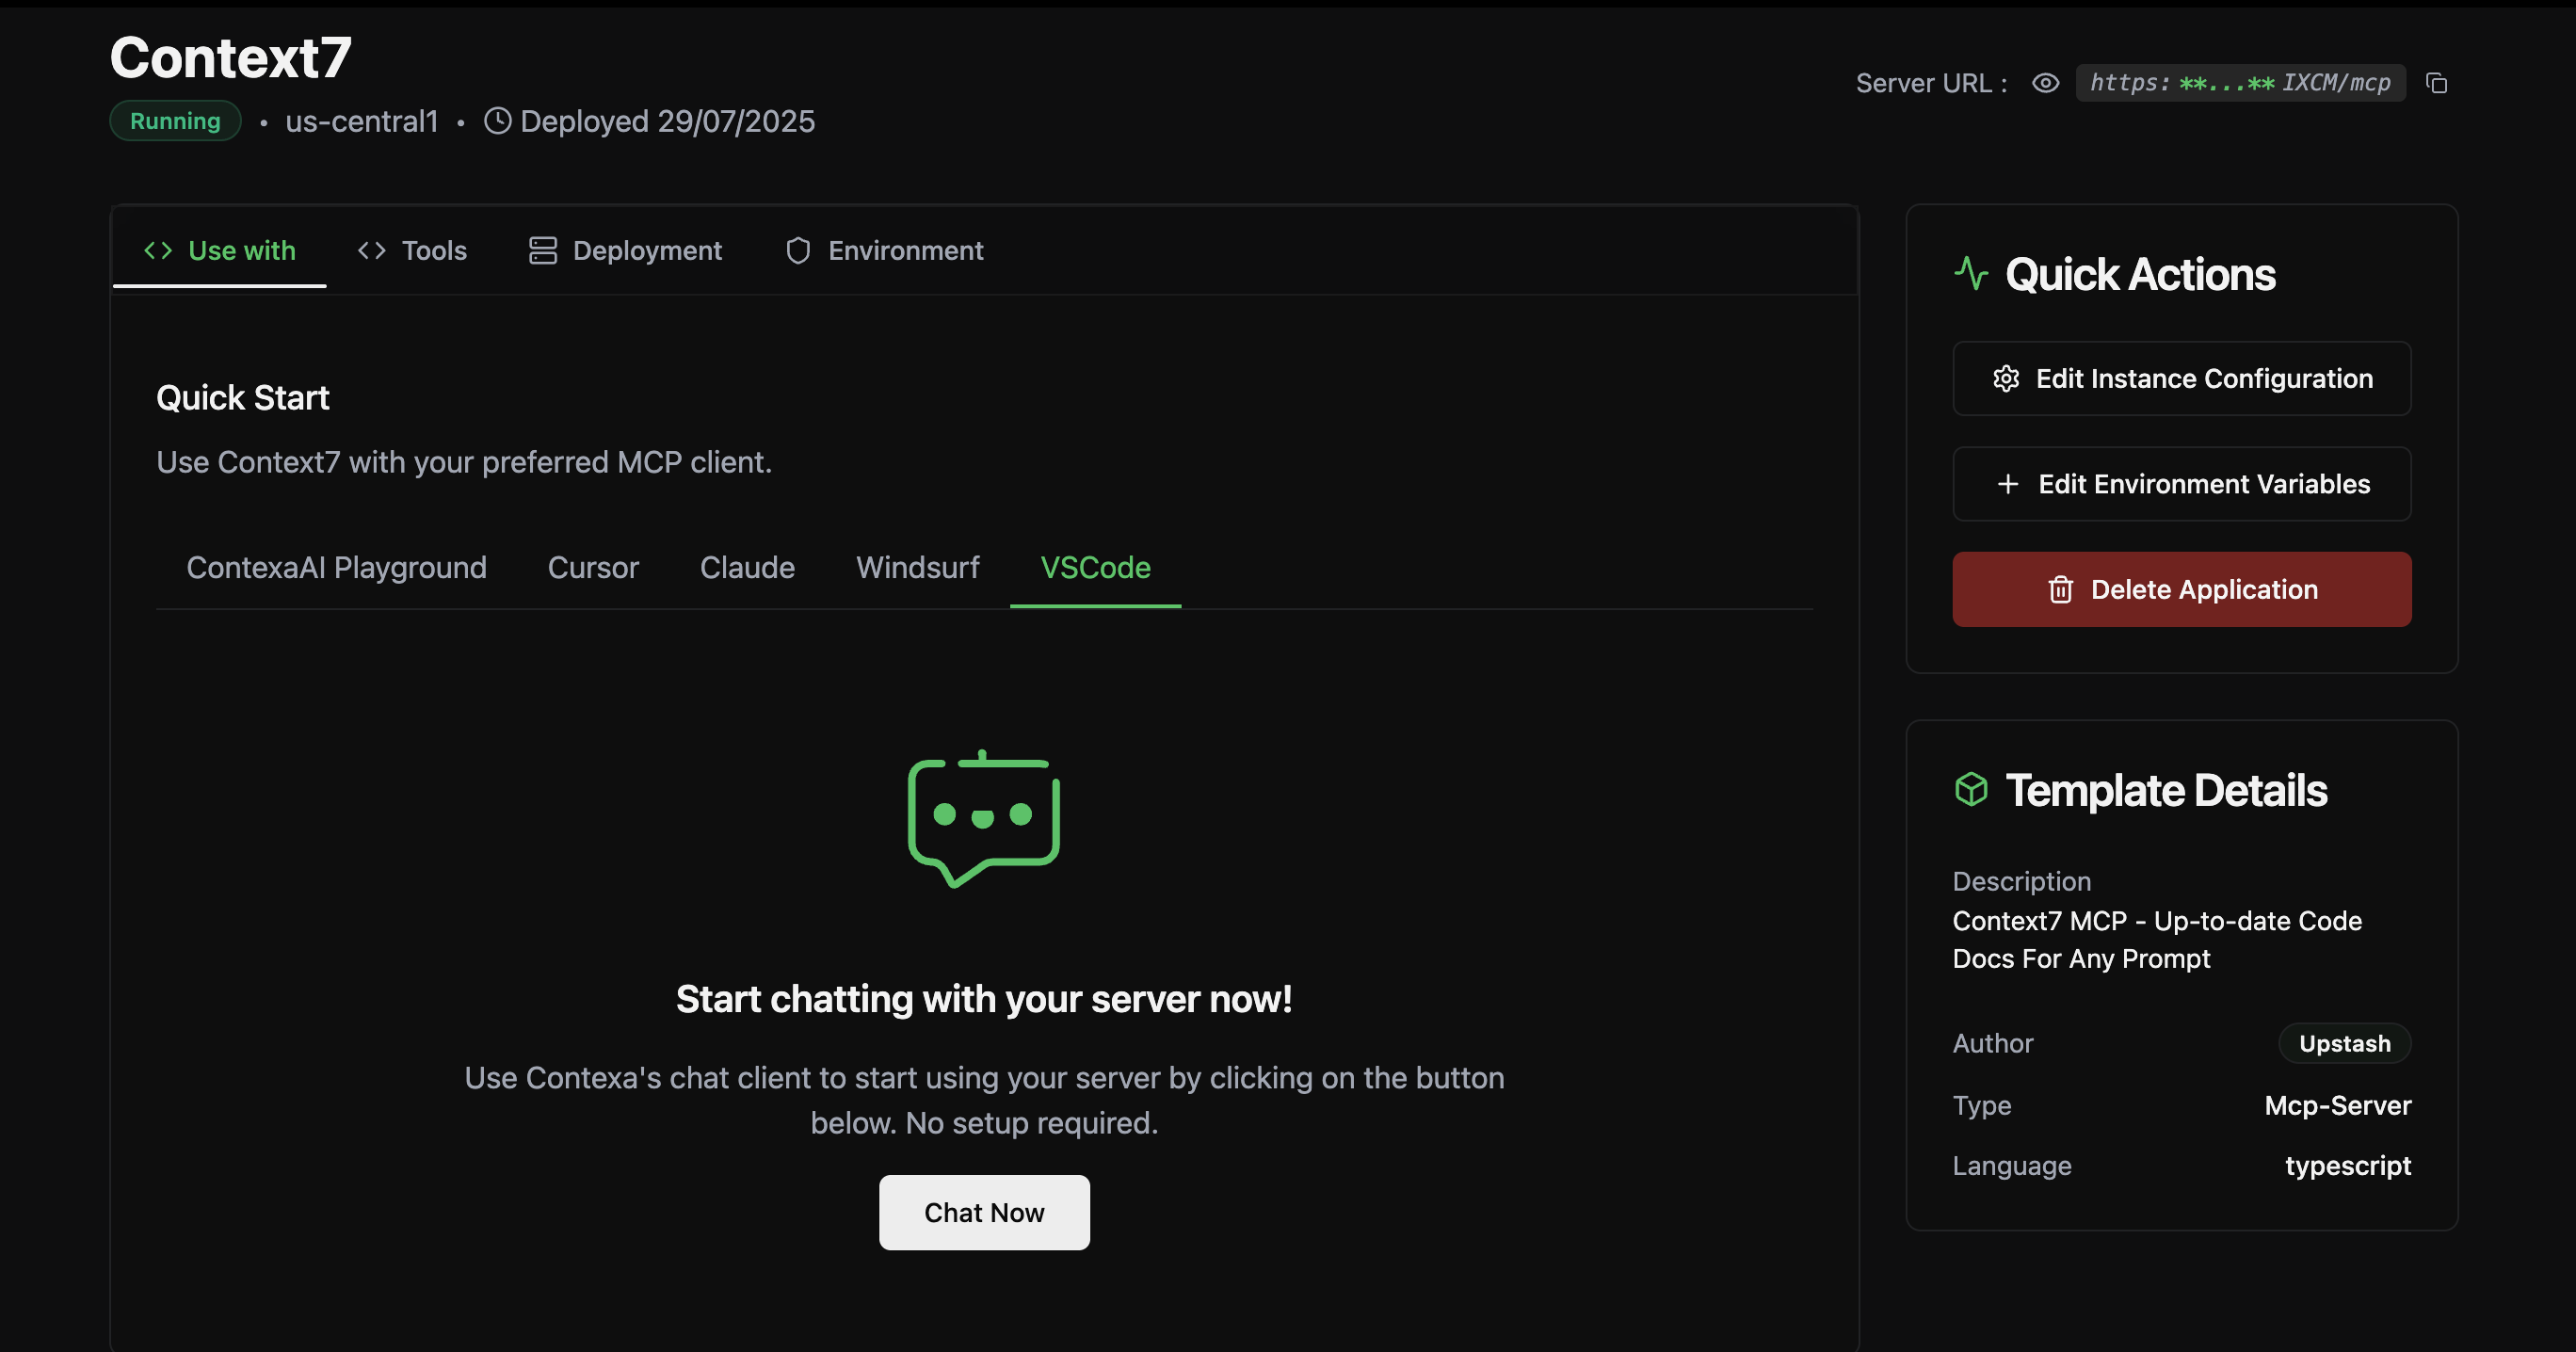 **Example configurations for your MCP servers:**
```json theme={null}
{
"mcpServers": {
"Context7": {
"url": "https://mcp.contexaai.com/v1/4n0lNwENz_PRUHUfPIXC/mcp"
}
}
}
```
```json theme={null}
{
"mcpServers": {
"Context7": {
"command": "npx",
"args": [
"mcp-remote",
"https://mcp.contexaai.com/v1/4n0lNwENz_PRUHUfPIXC/mcp"
]
}
}
}
```
```json theme={null}
{
"mcpServers": {
"Context7": {
"command": "npx",
"args": [
"mcp-remote",
"https://mcp.contexaai.com/v1/4n0lNwENz_PRUHUfPIXC/mcp"
]
}
}
}
```
```json theme={null}
{
"servers": {
"Context7": {
"type": "sse",
"url": "https://mcp.contexaai.com/v1/4n0lNwENz_PRUHUfPIXC/mcp"
}
}
}
```
After deploying your server, you can start using the server across any MCP compatible client by copying the config and pasting it in the mcp.json file for your respective client.
**Example configurations for your MCP servers:**
```json theme={null}
{
"mcpServers": {
"Context7": {
"url": "https://mcp.contexaai.com/v1/4n0lNwENz_PRUHUfPIXC/mcp"
}
}
}
```
```json theme={null}
{
"mcpServers": {
"Context7": {
"command": "npx",
"args": [
"mcp-remote",
"https://mcp.contexaai.com/v1/4n0lNwENz_PRUHUfPIXC/mcp"
]
}
}
}
```
```json theme={null}
{
"mcpServers": {
"Context7": {
"command": "npx",
"args": [
"mcp-remote",
"https://mcp.contexaai.com/v1/4n0lNwENz_PRUHUfPIXC/mcp"
]
}
}
}
```
```json theme={null}
{
"servers": {
"Context7": {
"type": "sse",
"url": "https://mcp.contexaai.com/v1/4n0lNwENz_PRUHUfPIXC/mcp"
}
}
}
```
After deploying your server, you can start using the server across any MCP compatible client by copying the config and pasting it in the mcp.json file for your respective client.